Choosing a sewing machine can seem very tricky and hard, especially if you are a beginner. There are lots of different types of machines on the market (mechanical, computerized or a mix of both), with different features, by different brands and in different price ranges.
I’m not here to suggest you a sewing machine in particular, because the perfect sewing machine doesn’t exist. The choice of the right sewing machine depends on your needs and budget. However, if you are going to buy a sewing machine because you want to start to sew your own garments, there are some essential and very useful features that I suggest you check before buying it.
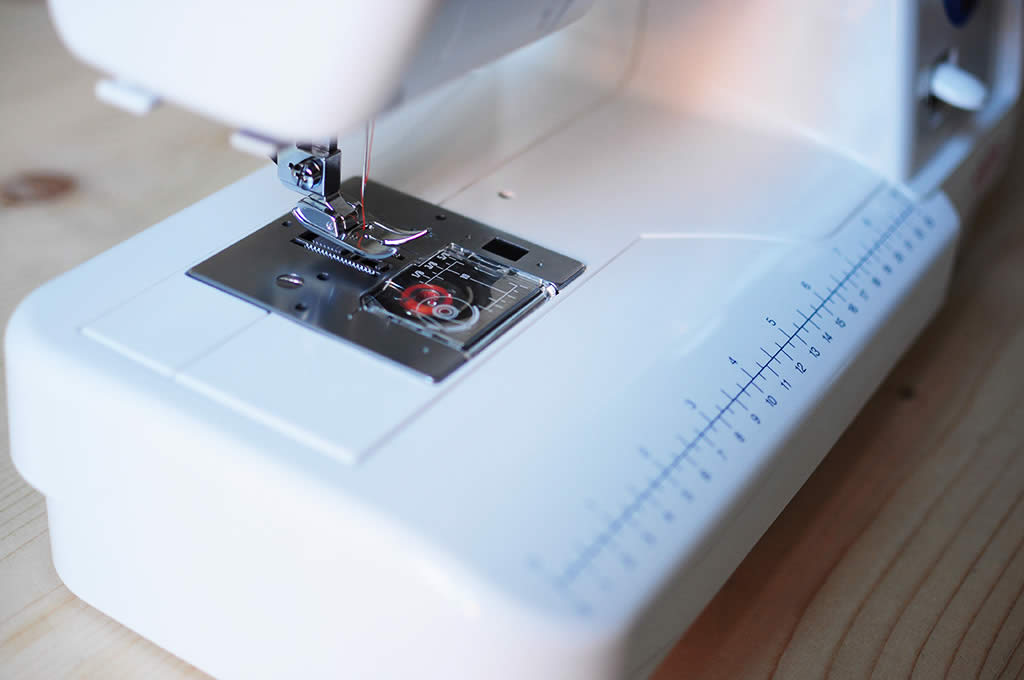
Here are my ten tips for choosing and buying your first sewing machine to sew your clothes:
- Go to a local sewing machine dealer! You will surely be tempted to take up a special offer online or in a big chain store, but mind the servicing! In a shop specialized in sewing machines the staff will help you to solve every problem, they will help you to find the right sewing machine for your needs and budget, they will show you how your machine works and they will give you lots of advices to get it started probably. It’s impossible to have this kind of help in an online shop or in a big chain store.
- Straight and zigzag are the two essential stitches. These are the stitches you will really use if you sew your own dresses. So, don’t worry about how many stretch or decorative stitches a machine has got. They are optional! You can find the stretch stitch, used for jersey and knit fabrics, in pretty much all the sewing machines on the market. Anyway you can replace it with a zigzag stitch (we’ll see how later), so it’s useful but not strictly essential. As far as the decorative stitches go instead, I haven’t even used any of them so far yet, if I have to be sincere.
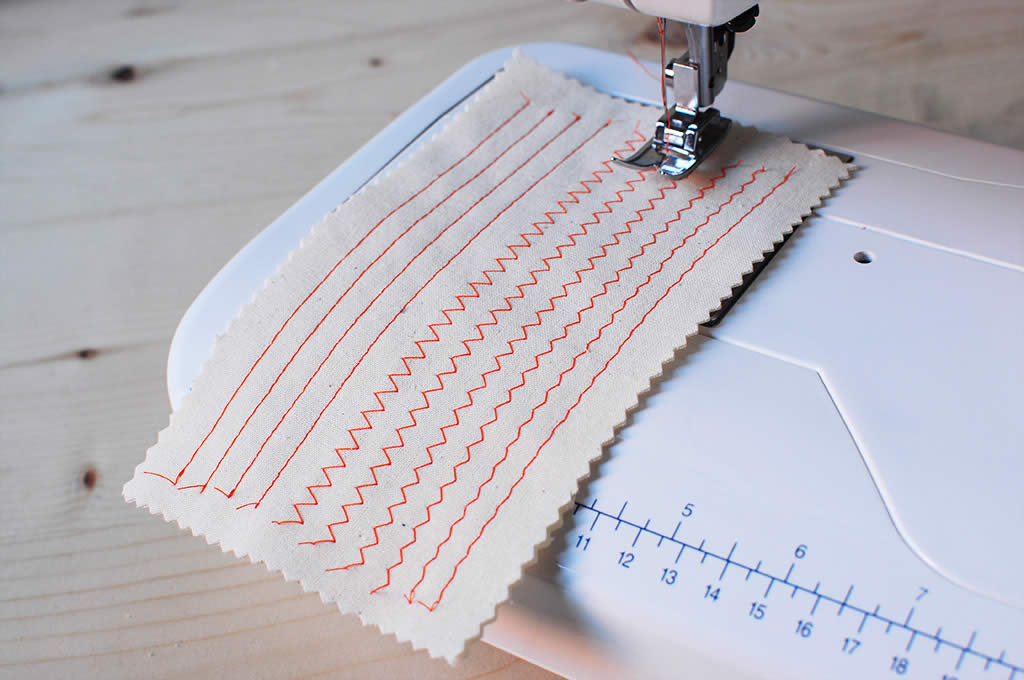
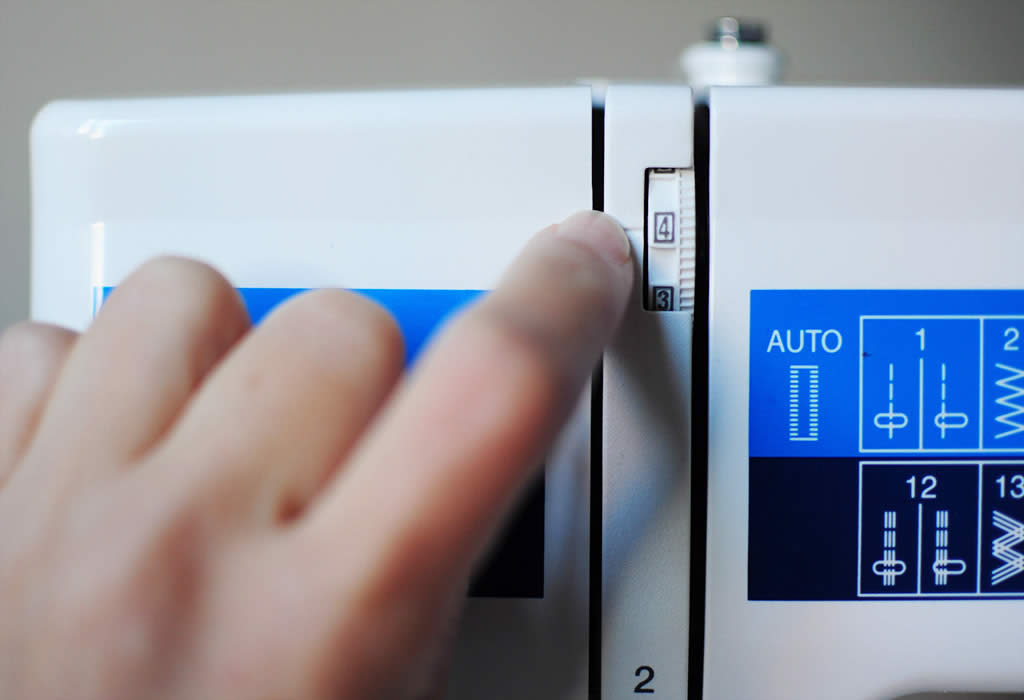
- The stitch length setting is essential. You’ll use this dial to set your straight stitch for your seams (generally 2 or 3 on the dial), but also for basting fast (so you don’t have to do it by hand). You only need to set the stitch length dial on 4 (the higher is the number, the longer is the stitch generally) and baste. It’s very useful also for gathering.
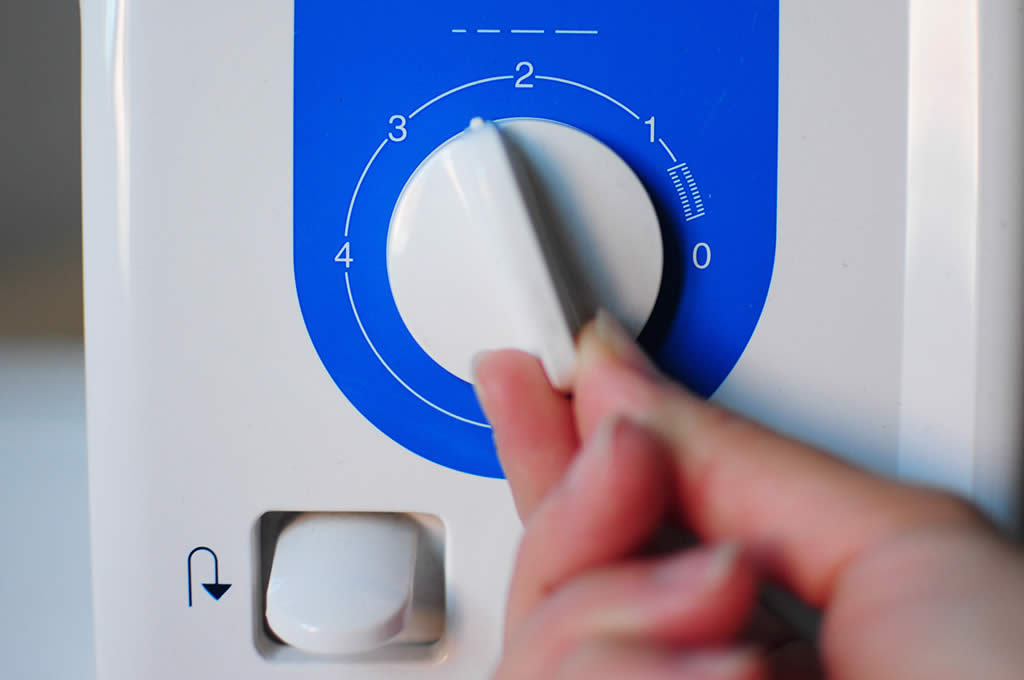
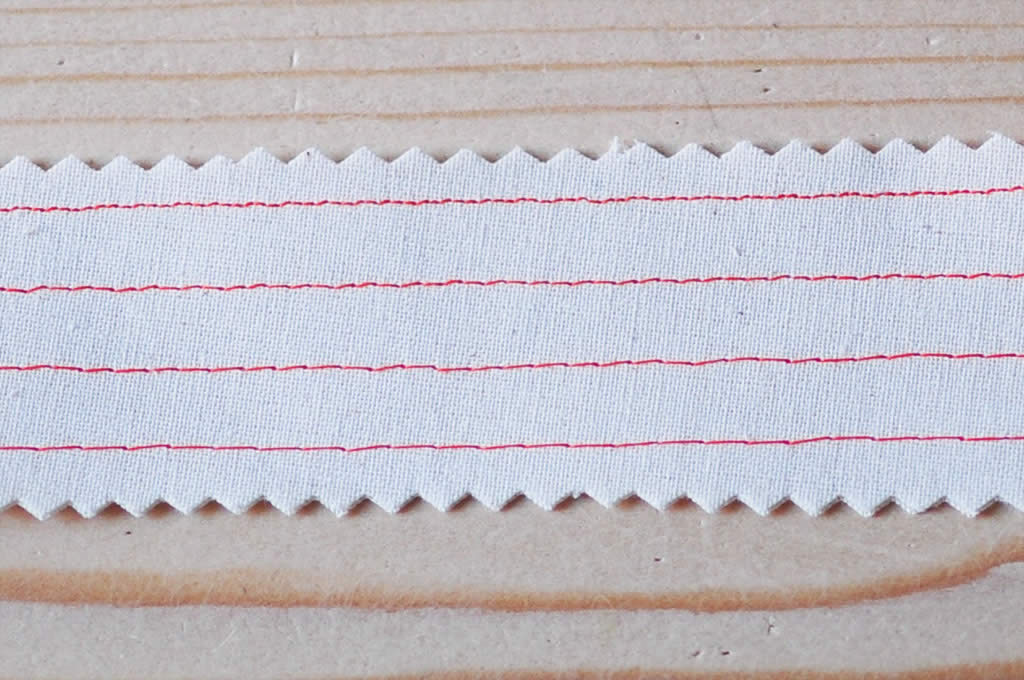
- The stitch width setting is also very useful because it defines the width of all the stitches, except the straight one obviously. It’s used for setting the width of the zigzag essentially. Generally the higher is the number on the dial, the wider is the stitch.
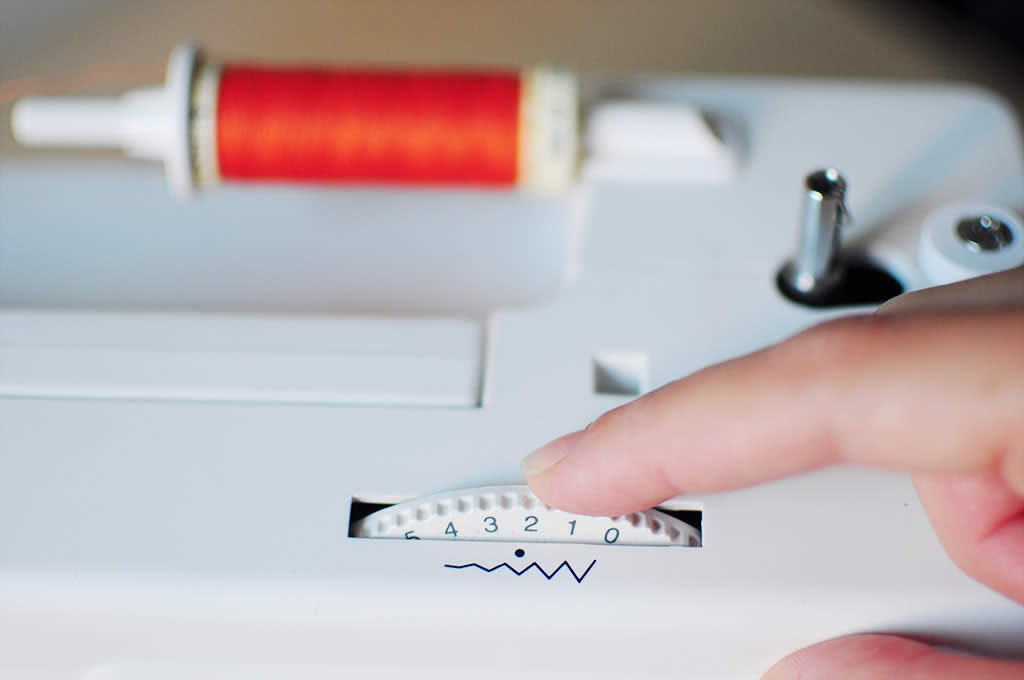
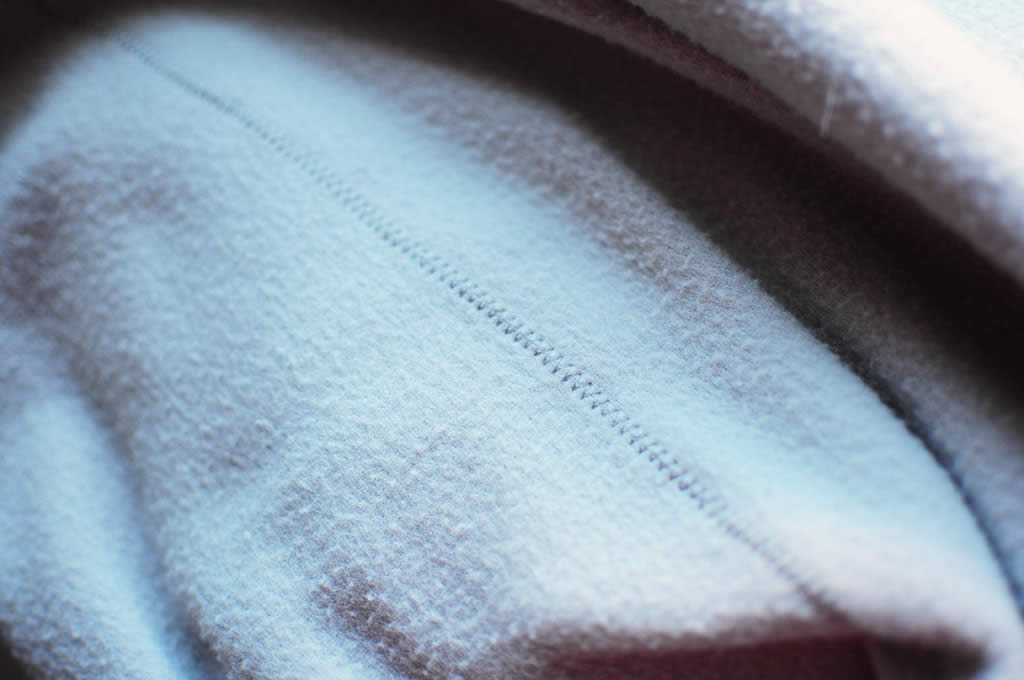
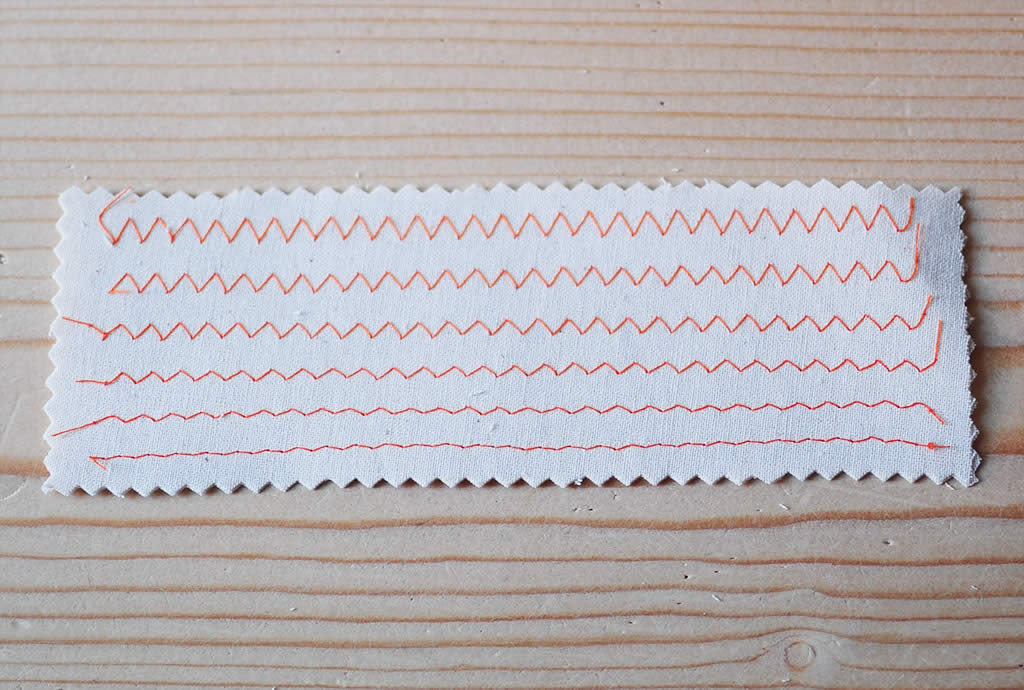 So if you set a stitch width 5, you’ll have a wide zigzag stitch, useful for joining two pieces of heavy fabric for instance (I used this setting for making a fleece blanket).
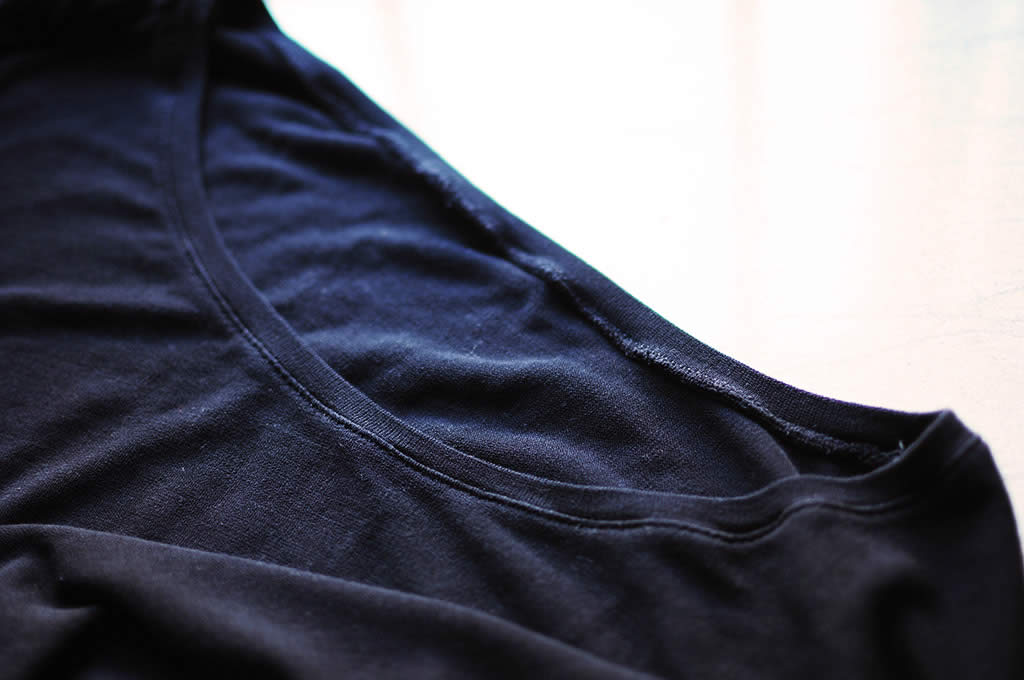
 If you set a medium stitch width 2 or 3, you’ll have a medium zigzag stitch, useful for finishing swimwear garments or garments in jersey or for finishing your garment edges if you don’t have a serger*.
 If you set a tight stitch width 1, you’ll have a very tight zigzag stitch, useful for making a stretch stitch similar to a straight stitch (as said at point 2).
 You can get a lot of different stitches combining stitch length and width settings. I suggest you try these settings once you have bought your sewing machine.
Some sewing machines don’t have a stitch width dial but some preset zigzag width settings. This kind of setting could be ok if you’re a beginner. Anyway I suggest you ask the shopkeeper for a demonstration so you can check which zigzag widths are preset. - The thread tension setting is very important if you work with different materials and thicknesses. Your first works will be very simple for sure and you don’t worry about this function in the beginning, but as you go along, you will surely want to jump into new and a little bit more complex sewing projects, for instance a jacket, a sweatshirt, a coat, etc. This setting allows you to always get a perfect stitch even if the thickness of your fabric (or the thickness of layers of fabric) changes. So I suggest you buy a sewing machine that has this setting. I always use it when I have to finish the hem of my garments in jersey with a twin needle (for instance sweatshirts). It gives my garments a professional finishing.

- Check if the machine works also with heavy and thick fabrics (so you can sew jeans and heavy wool) and if it has the foot pressure setting (very useful if you work with different thicknesses and material).
In this video you can see the two standard positions of the presser foot: the lowered position and the normal up position. The third and last one is the extra-up position. You can use it for an easy placement of heavy fabrics.
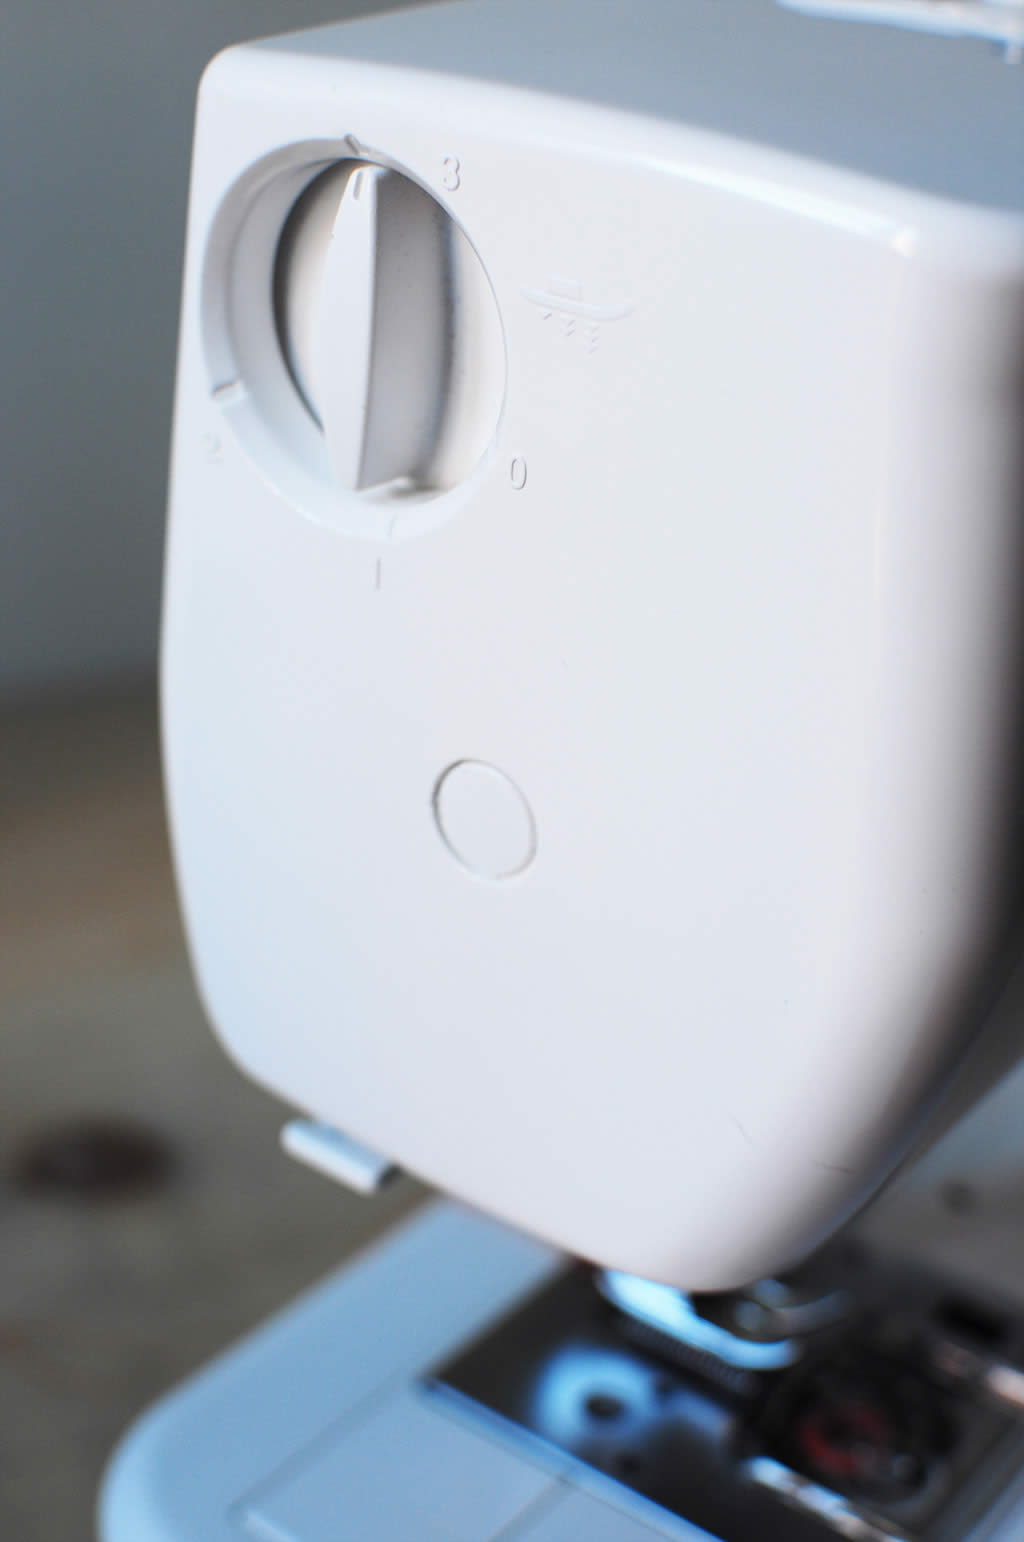 A picture of the foot pressure dial.
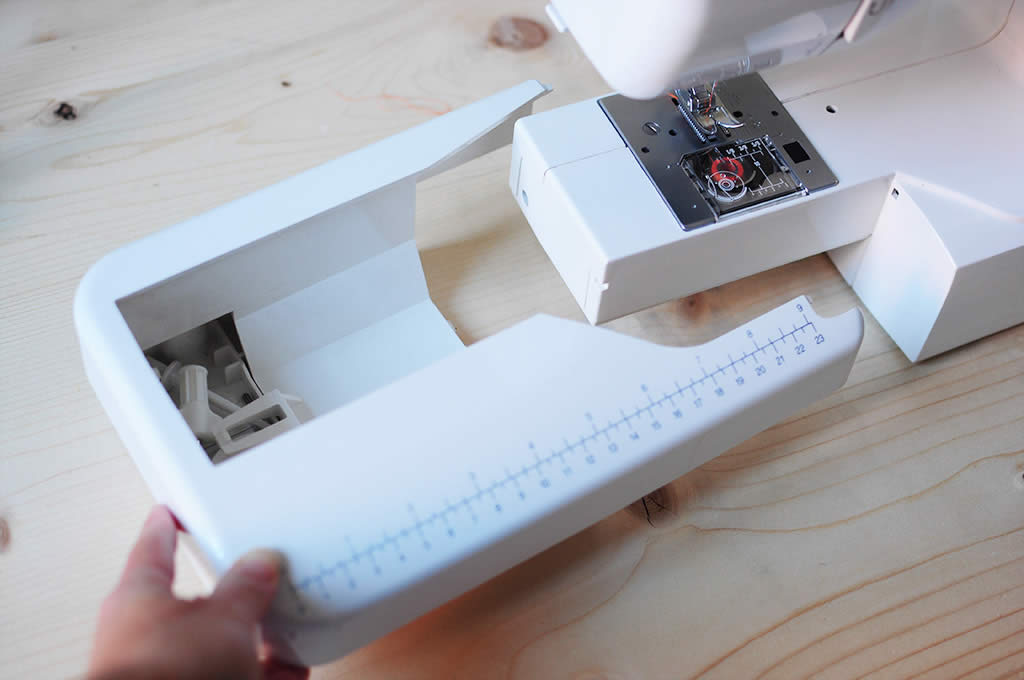
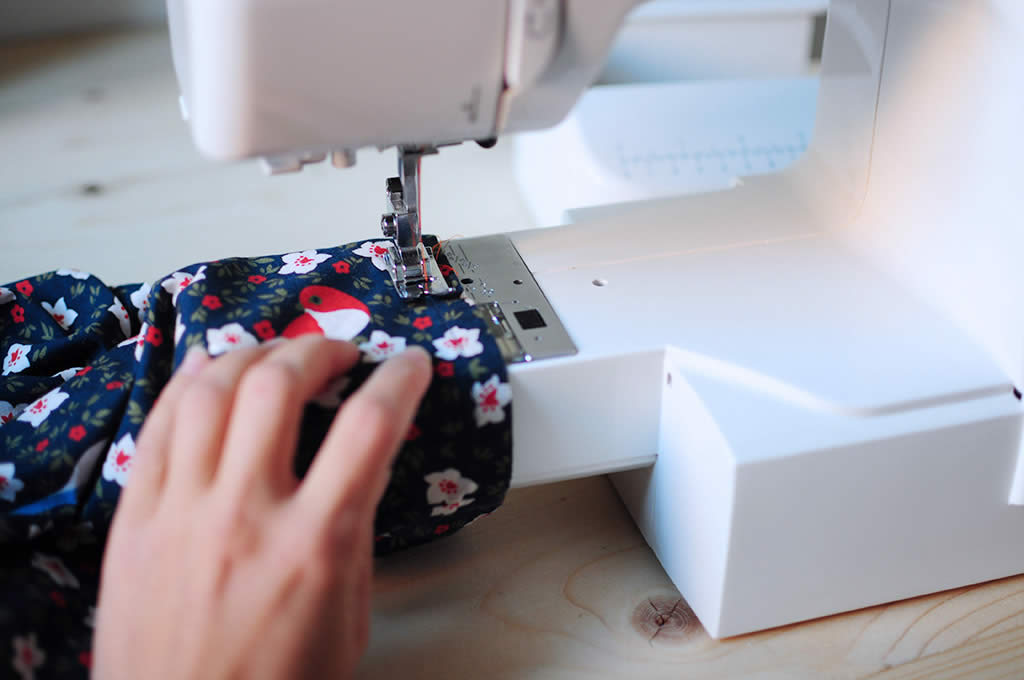
 - Check if the machine has the free arm/extension table (essential for stitching sleeves, pant legs or any other tubular garment).
- Check if it has a 1-step automatic buttonhole or a 4-step classic buttonhole setting. Generally a cheap sewing machine has 4-step classic buttonhole setting, while more expensive one has the 1-step automatic buttonhole setting. The automatic buttonhole setting is not essential but it’s very very useful! I always use it and I’m very happy my machine has this function. So I suggest you have the shopkeeper show you and then decide if it could be a must-have for you or not. For me it would be!
- Check if the sewing machine is sturdy and heavy-duty, with metal mechanics (not plastic).
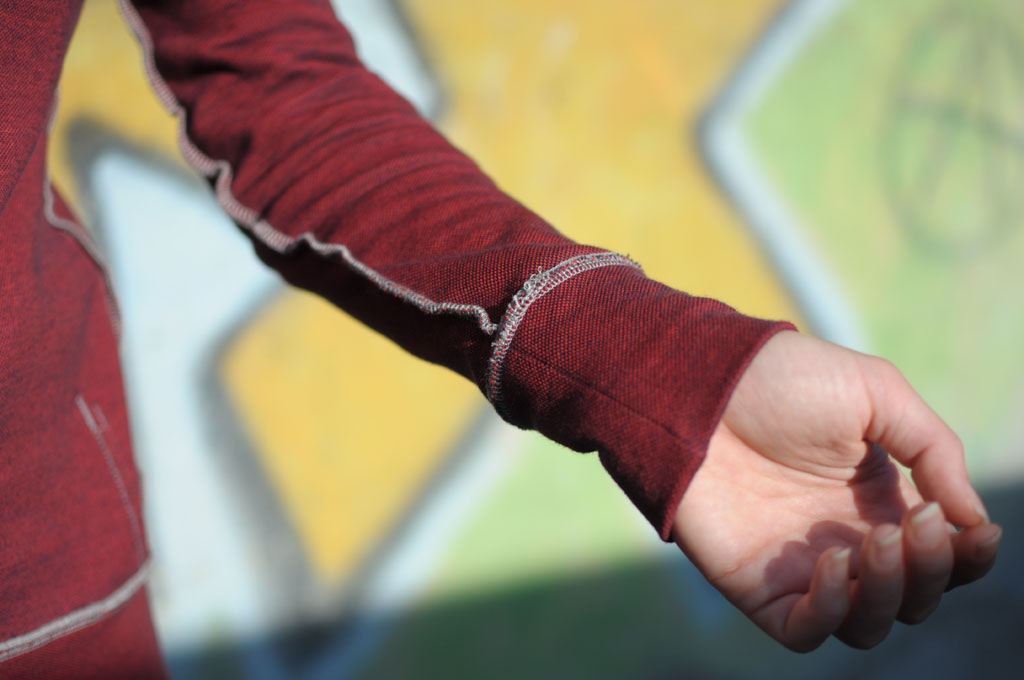
- The decorative stitch that imitates the serger* stitch could be useful but absolutely not essential (don’t choose your sewing machine for this stitch). If the sewing machine you have chosen doesn’t have it, don’t worry and finish your garments with a zigzag stitch. Surely if you carry on sewing your own garments up, you will want to buy a serger probably sooner or later and this stitch will turn out to be totally useless.


A sewing machine with all these features could cost as a good smartphone approximately and it will go on for years. If you buy an all-round sewing machine you won’t feel the need to change it for a while and you can open yourself up to your creativity right from the start, because you’ll already have all the essential settings to create beautiful garments.
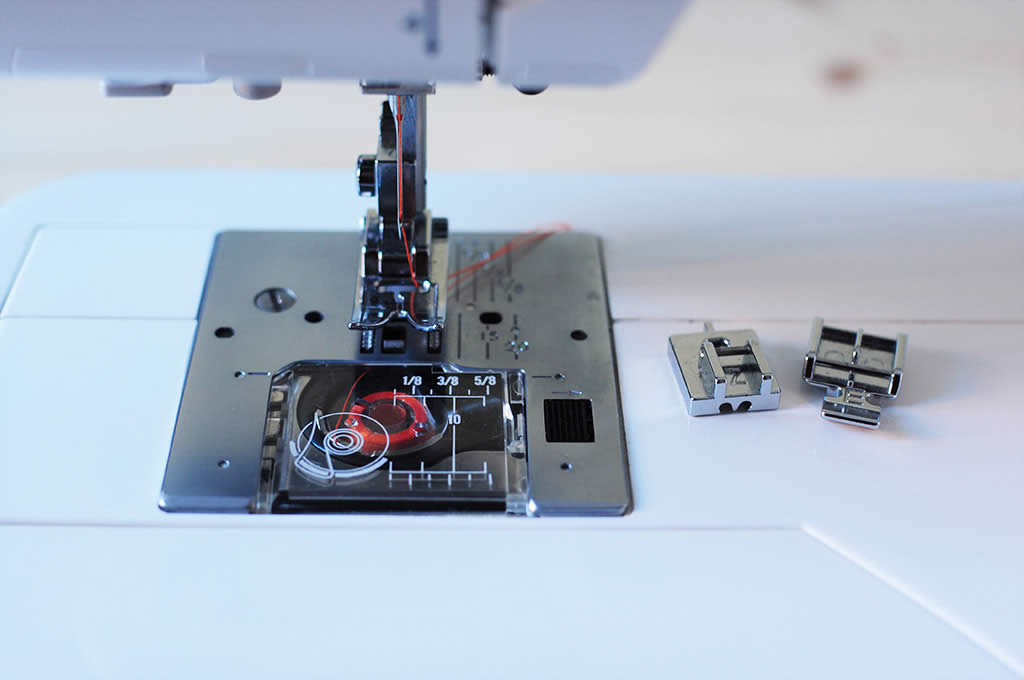
Once you have chosen your sewing machine, check which foots are included. Generally a regular zipper foot is always provided. Buy also the invisible zipper foot. You’ll never regret having bought it!
In the end, once you have bought your sewing machine, think of the instruction manual as your bible! Keep it always at hand, read it, look at it as much as possible. Read how to set every stitch before making it. This will help you to solve lots of problems and not to be in panic! And I speak from experience!
So, good luck and happy sewing!
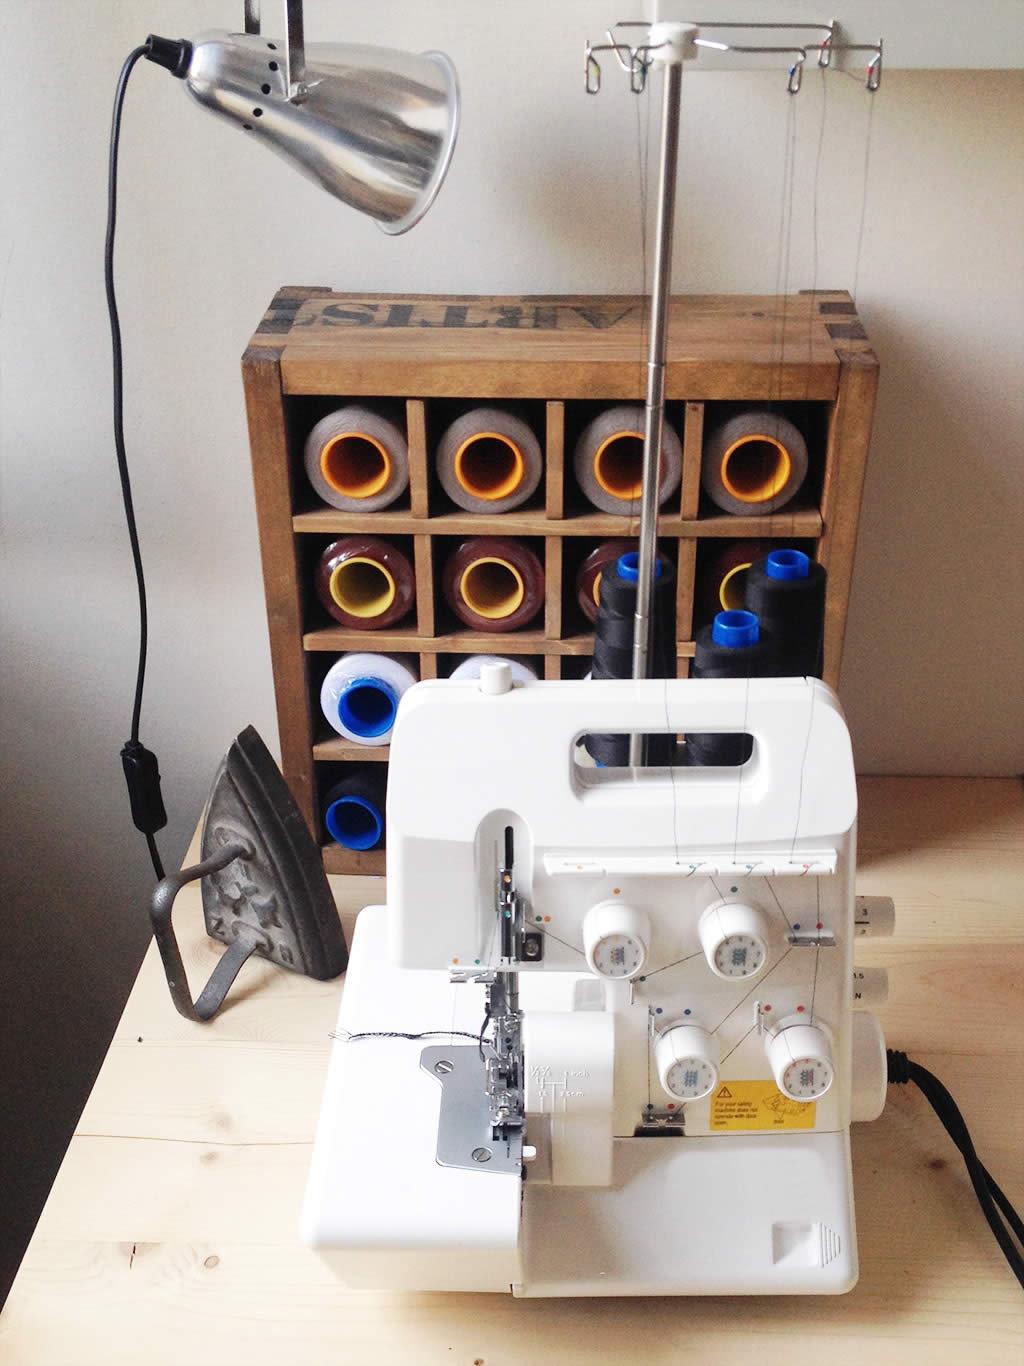
* The serger cuts and sews the fabric or two pieces of fabric at the same time. You can use this machine to finish your edges in a professional way or to sew garments in jersey (you can sew and cut two jersey pieces together in one step).


8 comments
Thanks for the tips for choosing a sewing machine. I want to buy my wife a sewing machine for her birthday, but I don’t know what to look for. I like that you mentioned to make sure you choose a machine that works with heavy and thick fabrics. It makes sense you would want something that could work on any type of material.
Thanks! I’m happy you’ve found this post useful. Good luck with your gift/sewing machine research! 🙂
I’ve been wanting to get into sewing lately and I’m a beginner for sure! The advice you give for keeping the instruction manual is great because I usually just toss the instructions when I get a new item! I’ll have to keep mine and look through it, like you say. Thanks for the advice!
Hi Martina,
Great post, but I second the ‘pay for what you really need’ rather than the best I could afford in terms of options the machine offers.
When I replaced my ‘inherited’ machine a year ago, it took me a couple of weeks to settle on a specific machine. I carefully considered what is important to me and what stiches I really need. I saved lots of money by getting a model with less stiches and no embroidery but still metal parts and several automatic buttonholes etc. And I’m really glad that it’s small enough to put it in our tiny closet.
Regards,
Barbara Harris
You’re right! “Pay for what you really need” is key! I chose my sewing machine in the exactly same way. Garment sewing was what I wanted to do, so I chose “less sticthes, no embroidery but metal parts and automatic buttonholes”! Thank you so much for your very useful comment!
Hi Martina, Thank you for your valuable informative post. As I am a beginner I want to select a sewing machine and your article helps me a lot to select my one. Thank you so much.
I’m on the lookout for a first sewing machine for my 7 y/o daughter. I am SO glad I found you first! I’m looking forward to future lessons.
Cool