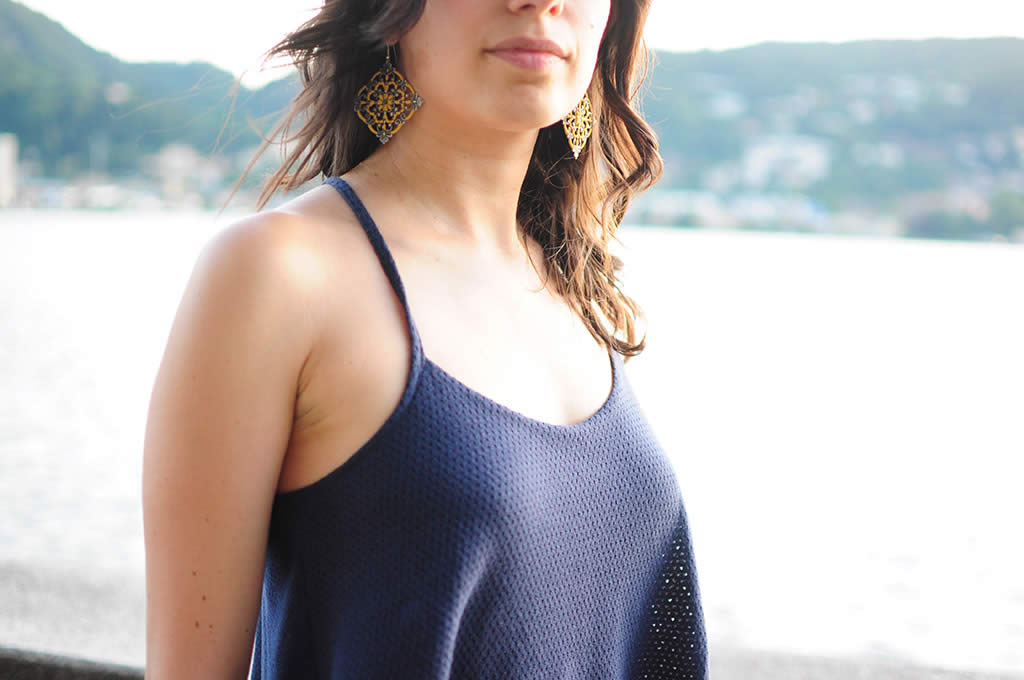
I’ve got to admit first of all that I have never loved maxi dress. I have got only one summer maxi dress in my wardrobe, that I bought on impulse some years ago and I only started wearing and appreciating lately. I don’t know for what weird reason I’ve always thought that I would feel awkward wearing a long skirt or dress… Don’t ask me why! Maybe simply because I have never tried wearing one. Anyway I decided to give maxi dresses a chance and I bought (not really convinced yet) Named Clothing Delphi Layered Maxi Dress over last edition of Abilmente Fair in Vicenza.
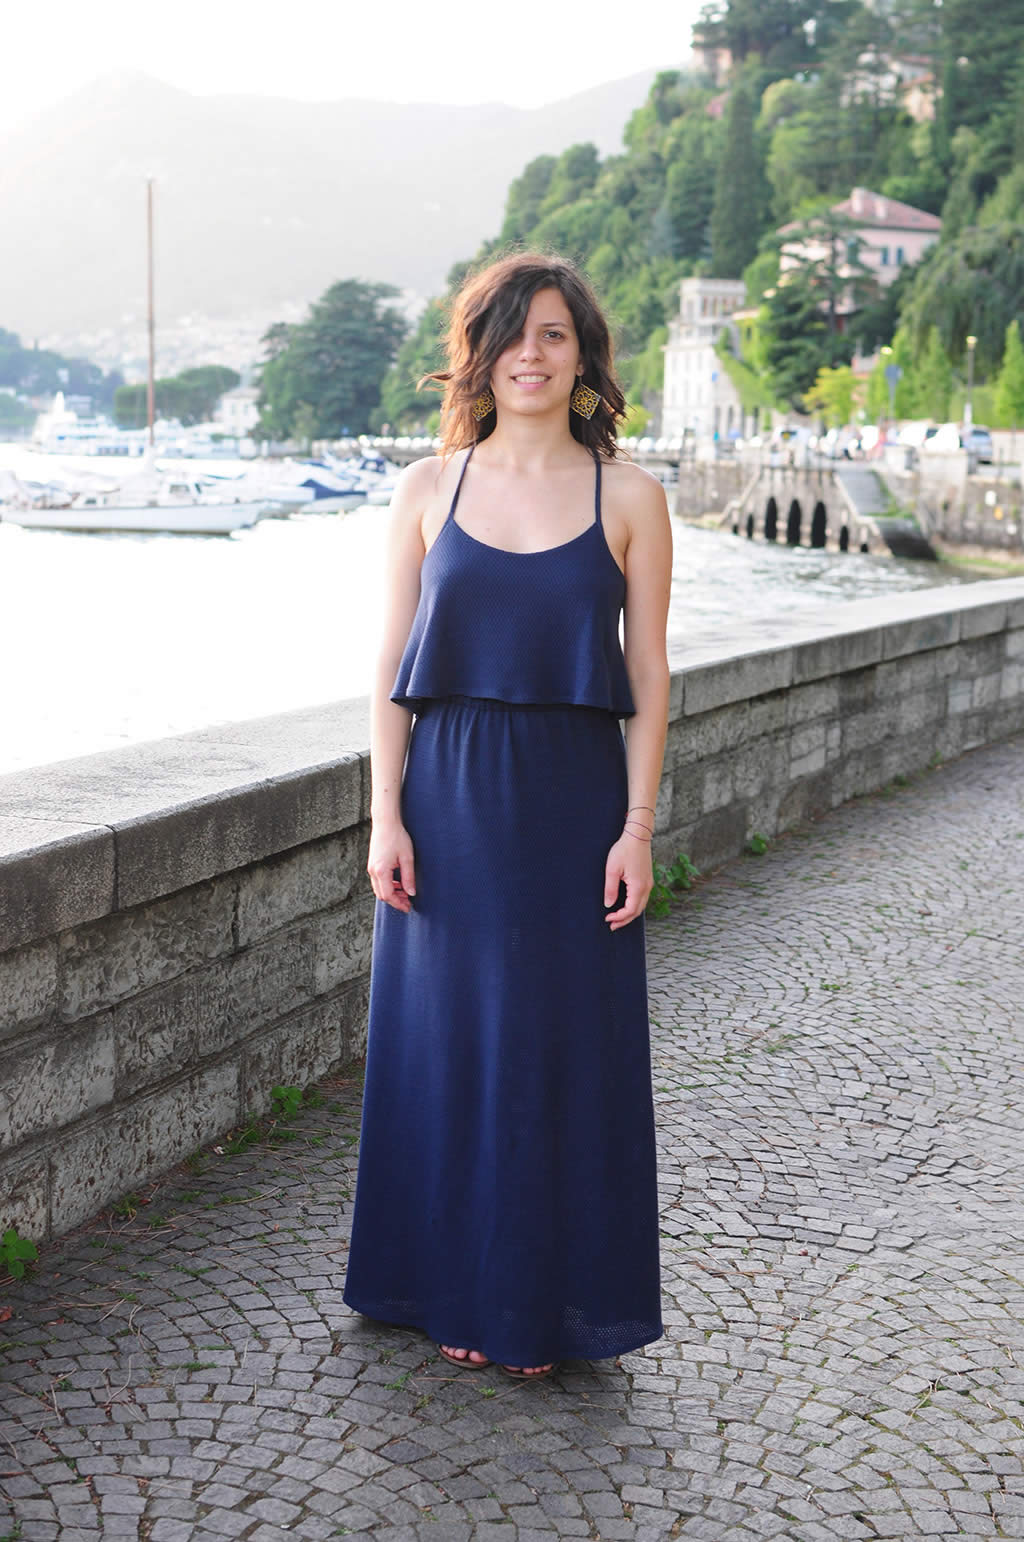
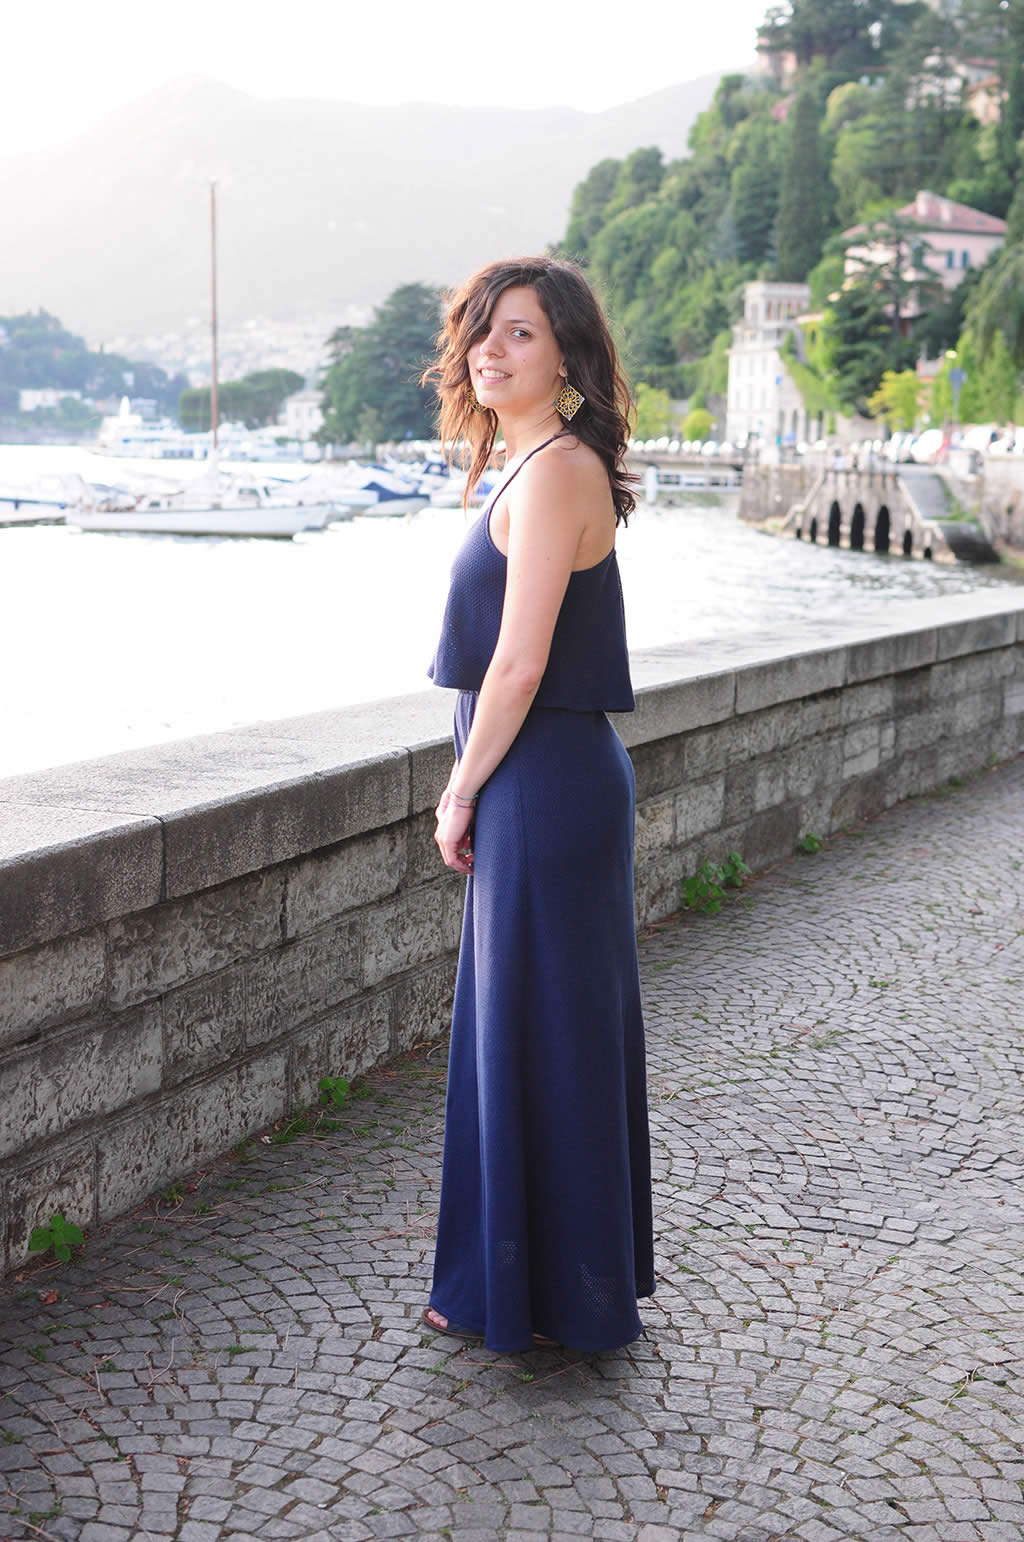
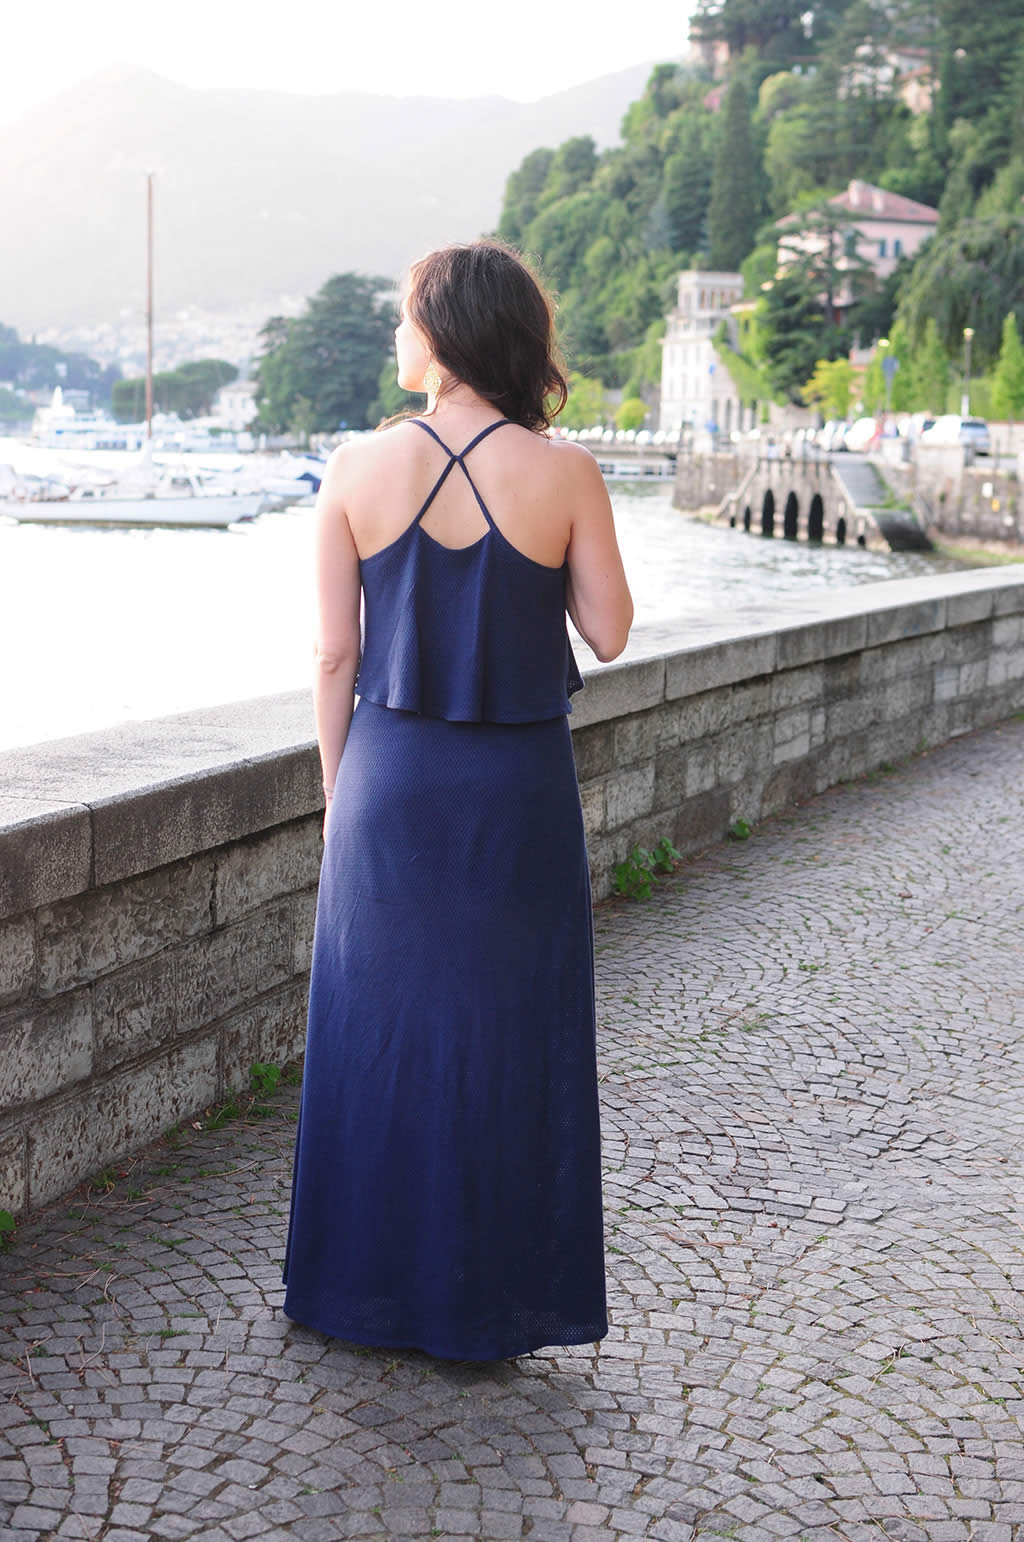
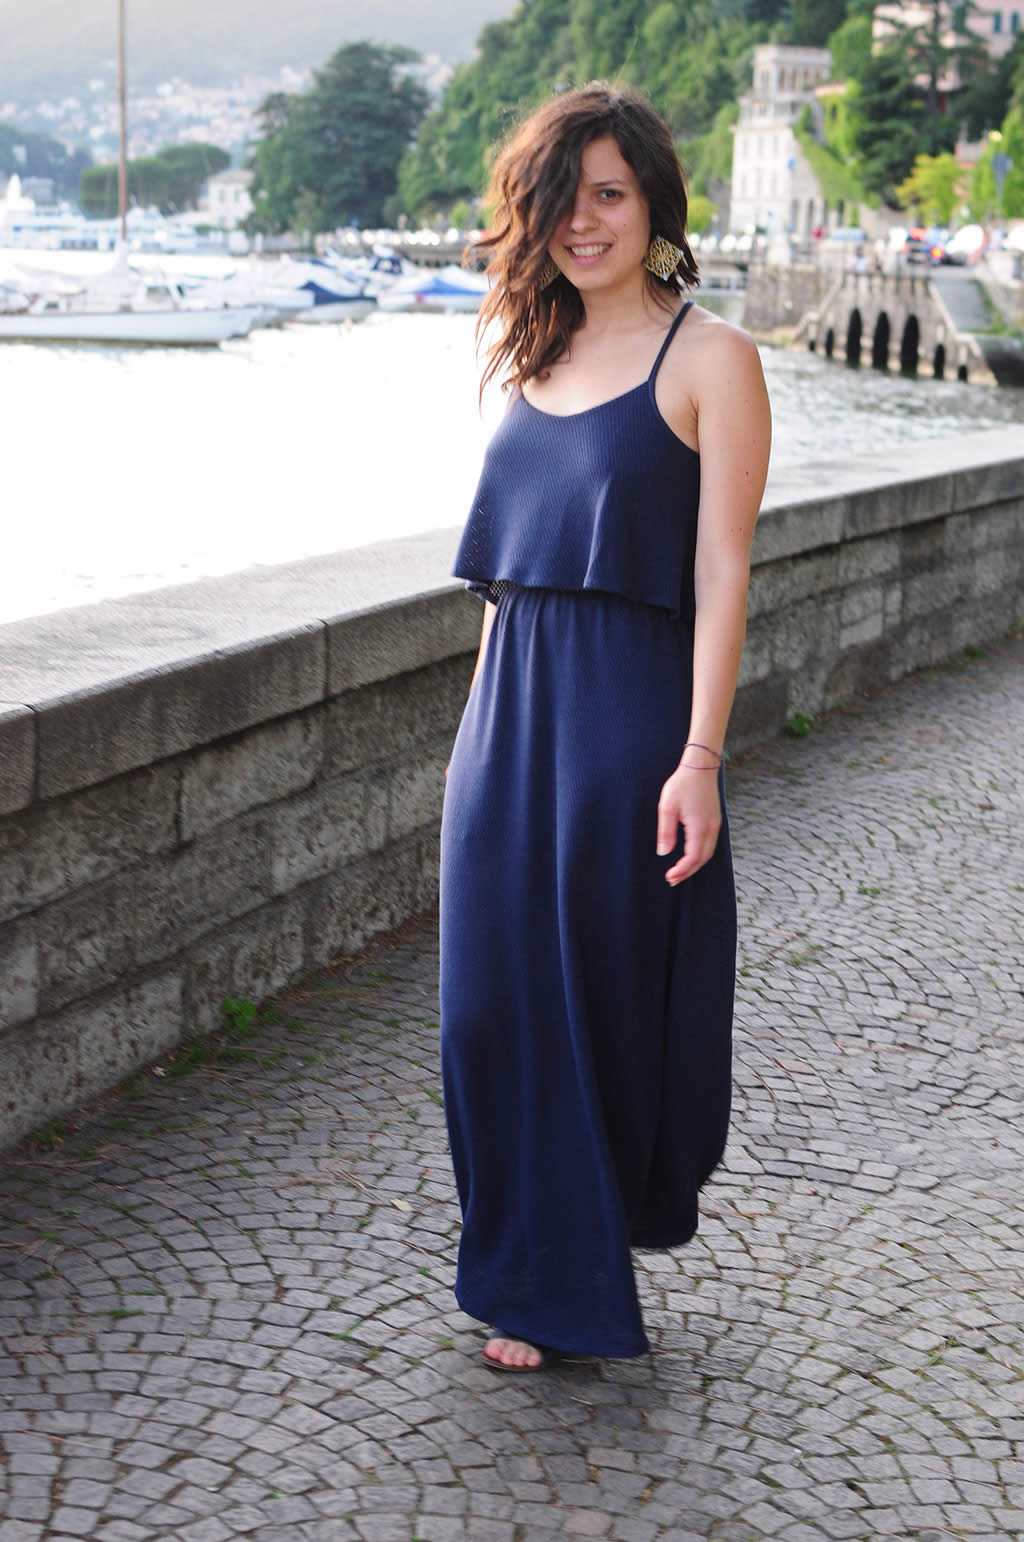
The pattern was designed for jersey so I chose a nice plain and pointelle cotton jersey, I came by at sale price at Gloriatex in Milan. The fabric was 90 cm high but 4 mt long. I must have paid about 10-15 euro (I don’t exactly remember how much). Anyway a good deal!
Before carrying on with the making of the final dress, I thought it would have been better to sew a bodice test up just to see how it fit… I did a quick online research and those who had already made it found the bodice very loose (see here and here).
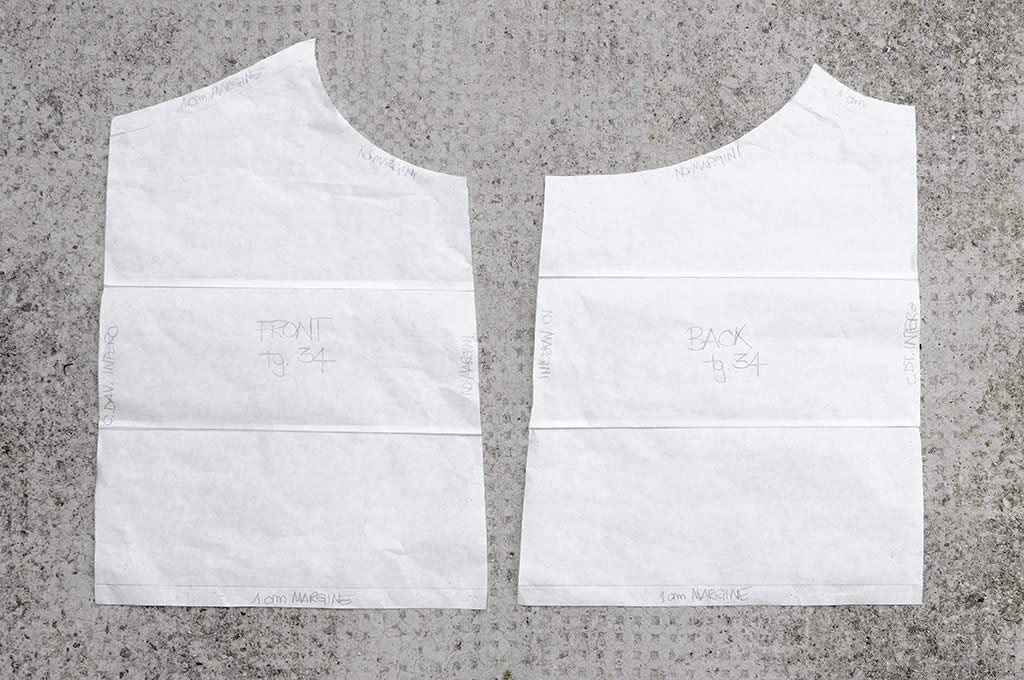
My size is 38, but checking finished measurements up I chose to make the test cutting a size 36 (one size smaller). Despite this trick, the bodice came out too loose. So I sewed a second test up choosing a size 34 (two size smaller) and I didn’t add seam allowances (paper pattern doesn’t include seam allowances, instead online pdf-copy does).
As written in the instructions, the pattern is designed for an average height of 172 cm. Being 1,63 mt tall, I adjusted the pattern in proportion to my height. I measured the bodice height without seam allowances and I made the following proportion:
Bodice height : 172 cm = x : 163 cm
Finding x, I made this subtracion:
Bodice height – x = cm I have to subtract to the bodice height
It came out that I had to shorten it by 1,6 cm tot. So I divided both the bodices and the layers (front and back) in three identical parts and I cut 0,8 mm in two points, to adapt it proportionally (you can see how I shortened the bodice in the picture below).
The ideal thing would have been to sew the test up with the same fabric of the final dress. Every jersey works out differently in fact, but not having enough fabric on hand I looked into my stash for the jersey that was more similar to my final one weightwise and I chose a microfibre/synthetic jersey.
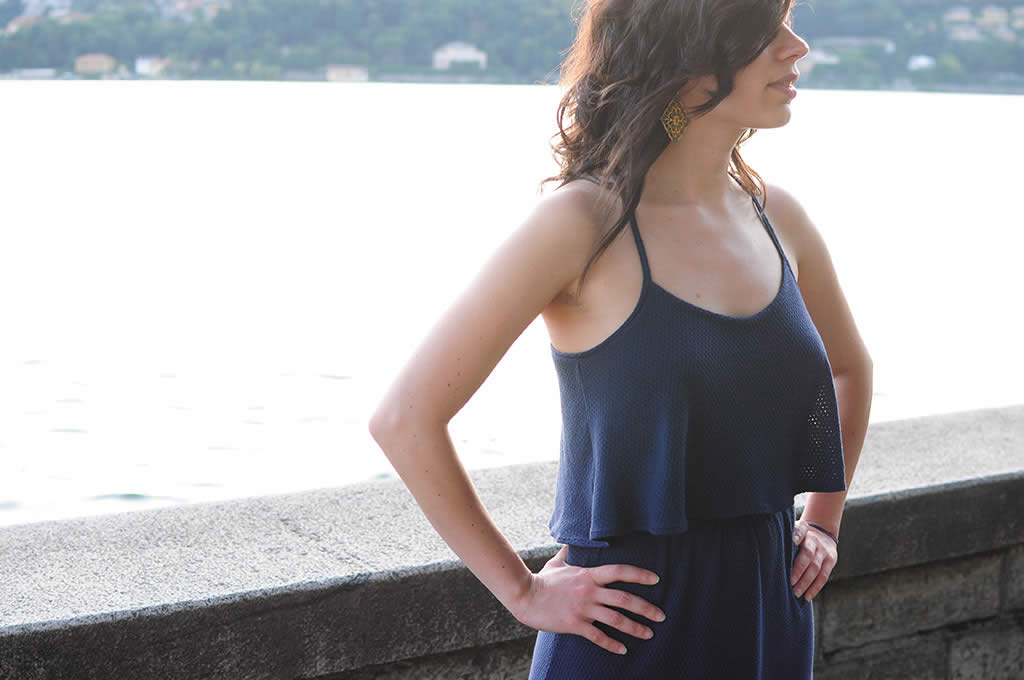
I decided to make my test wearable to not waste fabric so I turned the bodice into a top. I lengthened the bodice by 12 cm to have it above the hips and I sewed this top up:
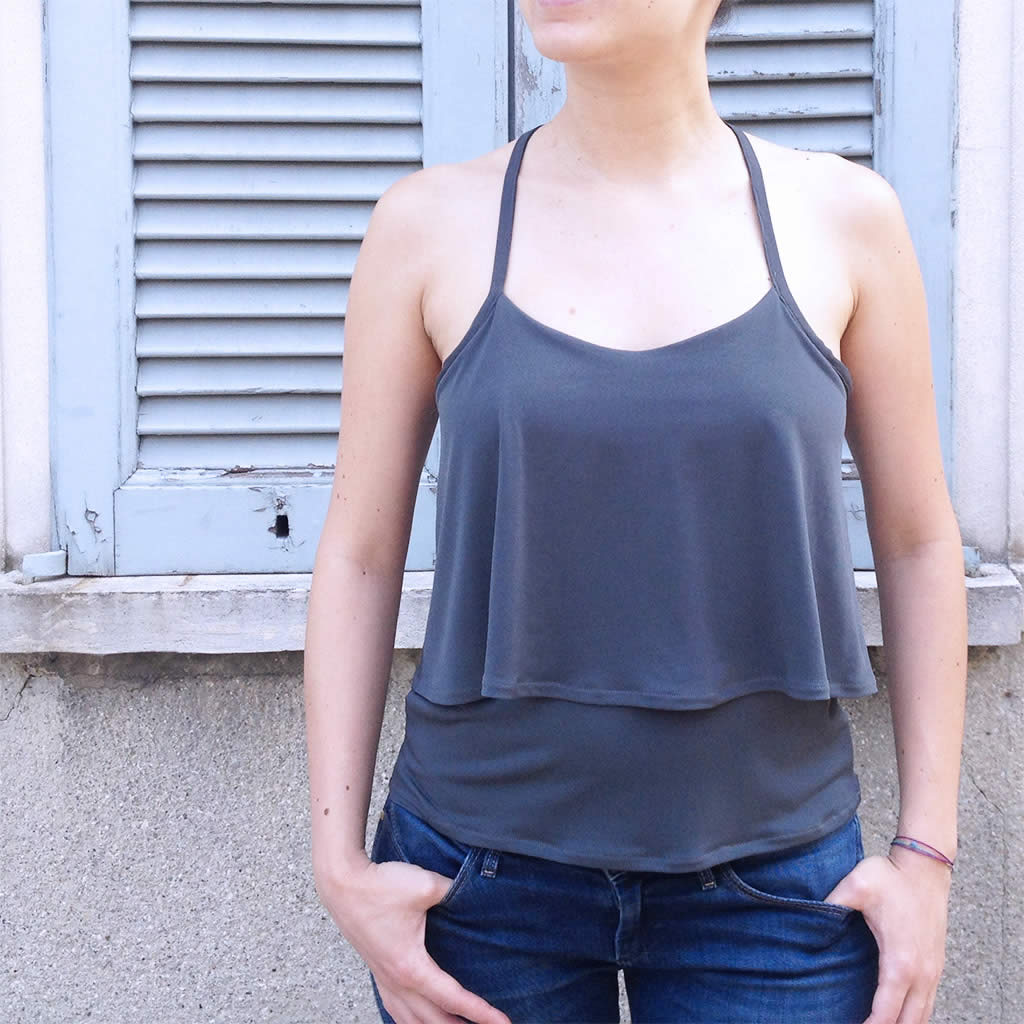
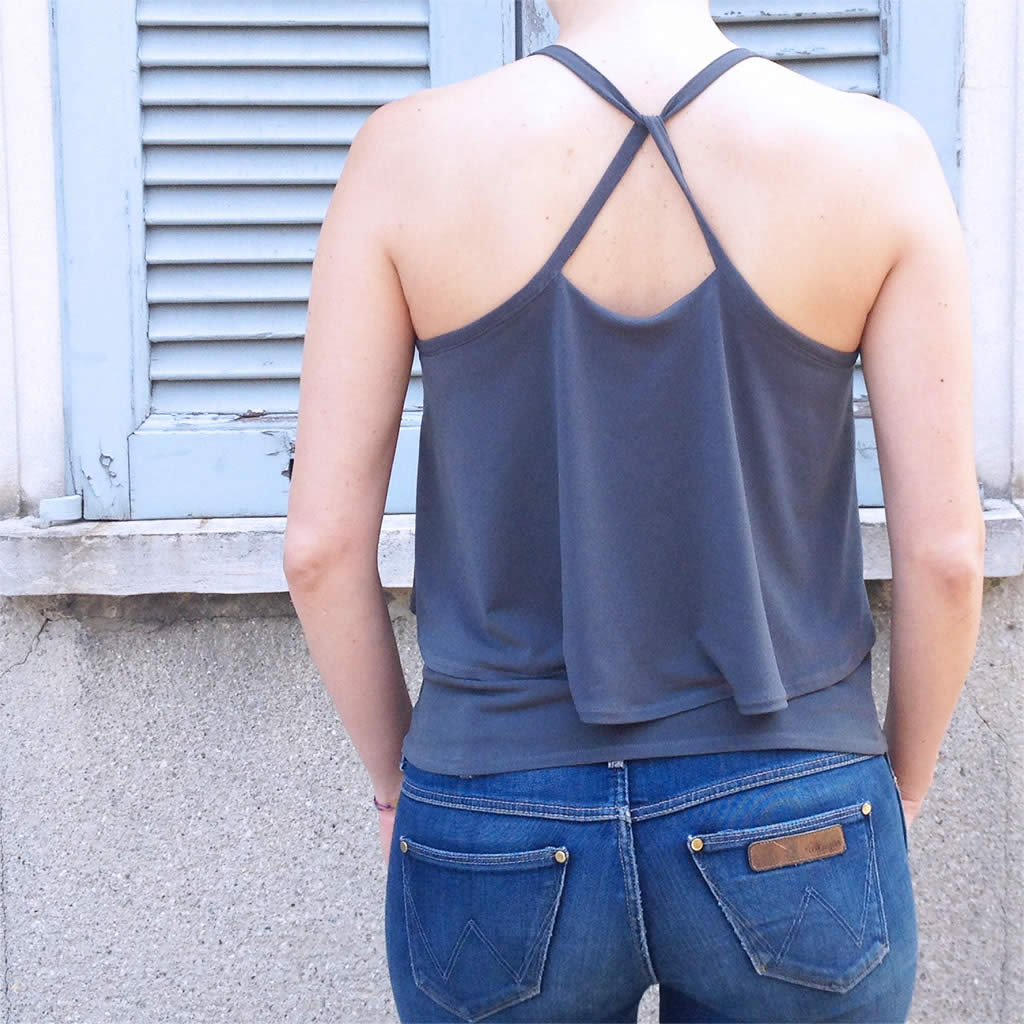
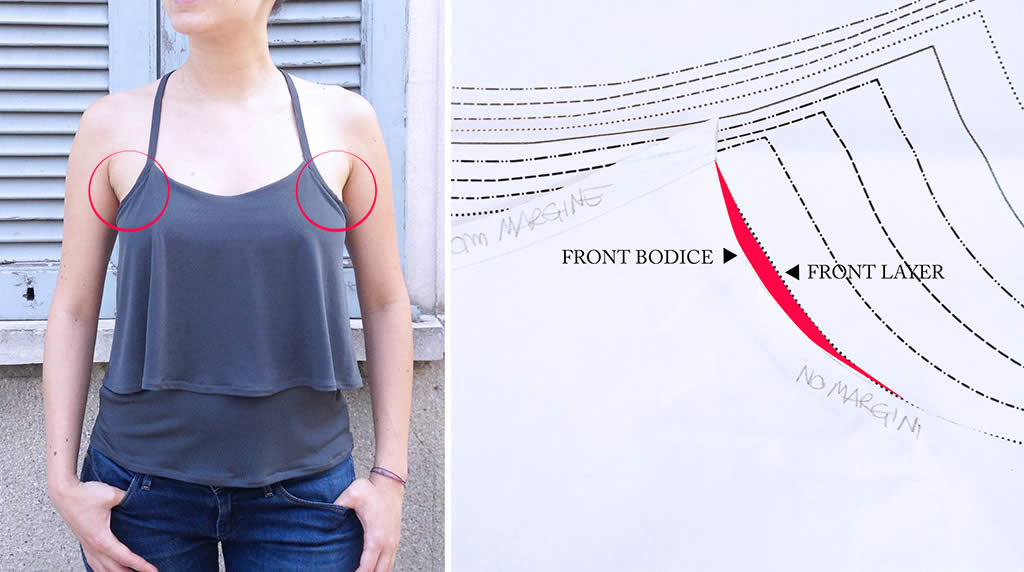
As you can see, the bodice came out still loose, above all on the back neckline (in the middle).
Furthermore, there’s a defect on the armhole of front layer (close to the front neckline), there were some little creases … it was as if there was too much fabric on the armhole of the layer compared to the bodice/lining.
After this second test I made these variations to the pattern size 34:
- -1 cm on the sides of the layer (both on the front and the back) | Tot. -4 cm on bust and waist circumferences
- -1 cm on the sides of the bodice (both on the front and the back) only on the armhole to not tighten the waistline too much | Tot. -4 cm on bust circumference
- -0,5 cm on the centre back | Tot. -4 cm on bust and waist circumferences
- I didn’t add seam allowances on the sides, so given that the serger seam is 0,5 mm, I cut other 2 cm.
So I cut -7 cm tot. on the bust circumference.
- I cut 5 mm on the armhole of the layer, laying the two paper patterns (front bodice and front layer) one upon the other and copying the same armhole’s curve of the bodice on the layer pattern (see the picture below). I could remove the unaesthetic defect on the front armhole in this way.
As far as the skirt goes I cut it a size 34 and I made the same proportion as above to adapt the height of the skirt to my height. It came out that I had to shorten the skirt by 6 cm, but I thought it was too much, so I chose to cut only 3 cm, with the same method above, and adapt the hem later. The length came out to be perfect!
In hindsight I suggest to skip this step and shorten the hem when you finish the garment…it’s simpler!
I added 1,5 cm to the bottom edges of the skirt as seam allowance.
I cut 0,5 mm on the centre back of the skirt (the same millimeters cut on the centre back of the bodice that has to be sewed with the skirt on the waist) and I didn’t add seam allowances on the sides. 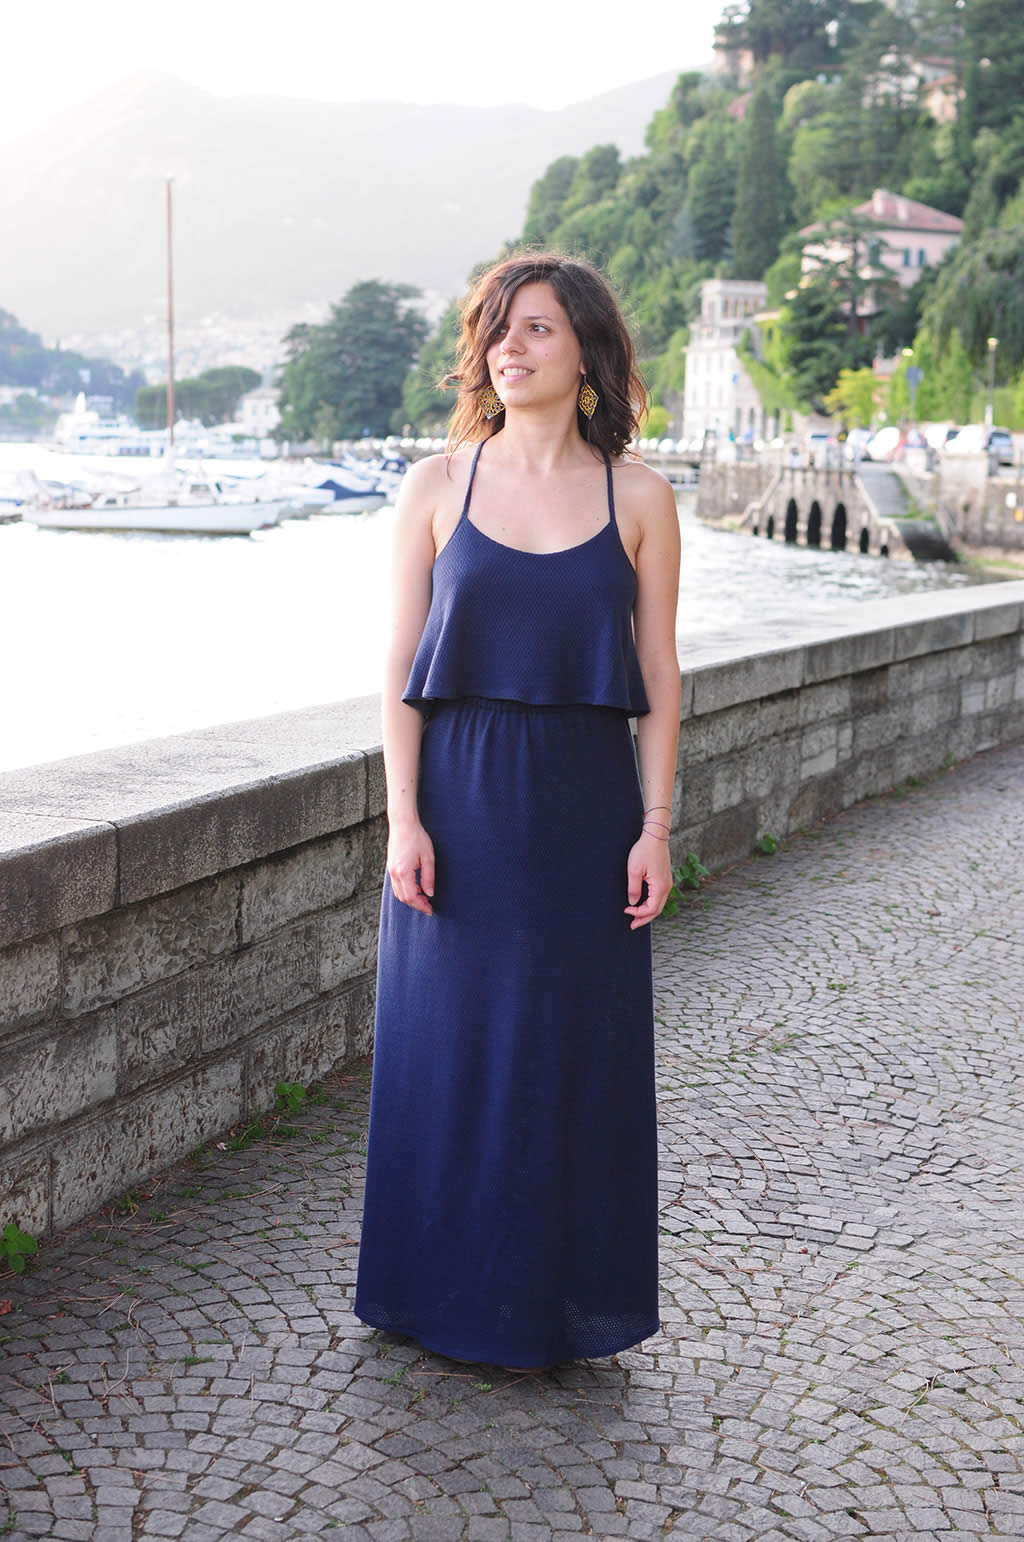
My jersey being pointelle and so a little bit see-through, I made a short underskirt lining the skirt. I retraced the pattern of the skirt to 35 cm (the right centimetres to cover to below hips) and I reduced the sides hem by 2 cm each side (-8 cm tot.). In this way the underskirt is lightly tighter than the skirt.
Once modified the paper pattern, I cut the fabric and I started to sew.
I used a jersey needle size 80 (jersey needle has a special rounded tip that doesn’t break or damage knit fibers while sewing).
I sewed the inside seams with my overlocking machine directly using a 4-thread overlock stitch and two needles.
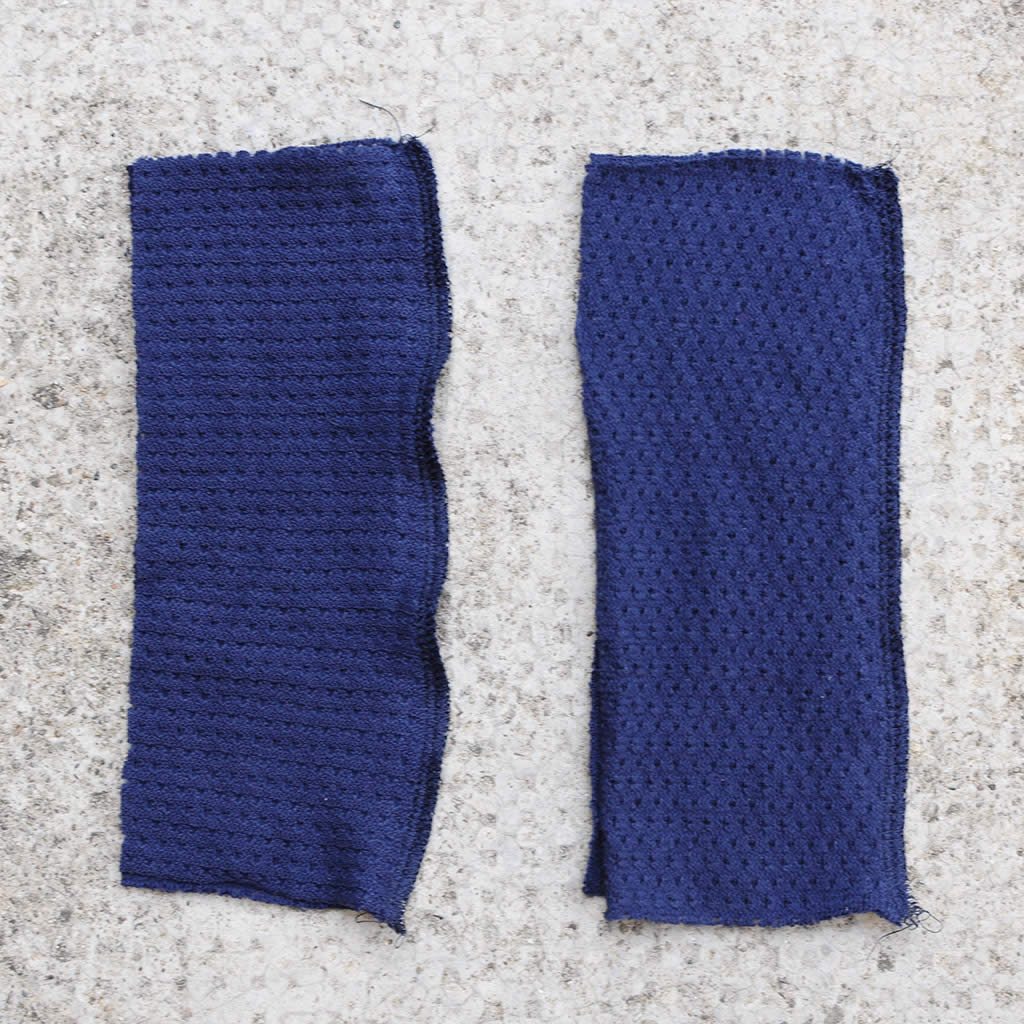
I even tested the “Differential Feed” function on my overlocking machine this time to avoid gathering and stretching of the fabric (and so waves on the seams). Check your serger instruction manual and sew a test before sewing your final fabric. Here’s the result before and after setting the differential feed adjusting knob:
Once I sewed the bodice and the layer together I noticed that I should have reduce the bodice by other 2 cm with this kind of jersey for a perfect fit of the back neckline, that came out still lightly loose for my tastes. For this reason, I suggest to make the test with the same fabric of the final dress!

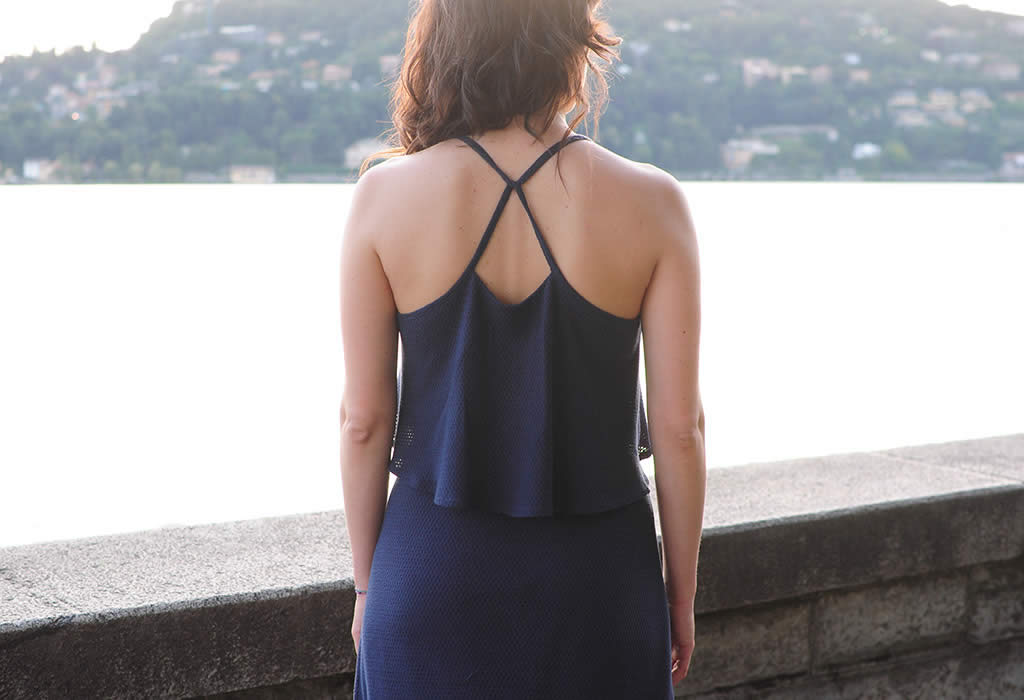
I understitched the inner seam allowances of the layer to the bodice (lining) to keep the necklines tight.

Moreover the armholes came out very loose with this jersey and so I had to sewed the bias tape pulling it to the maximum in order to shrink the fabric and to avoid it getting loose once worn. In this way I got the problem solved and, as you can see, the bias tape finishing stays well close to the body.
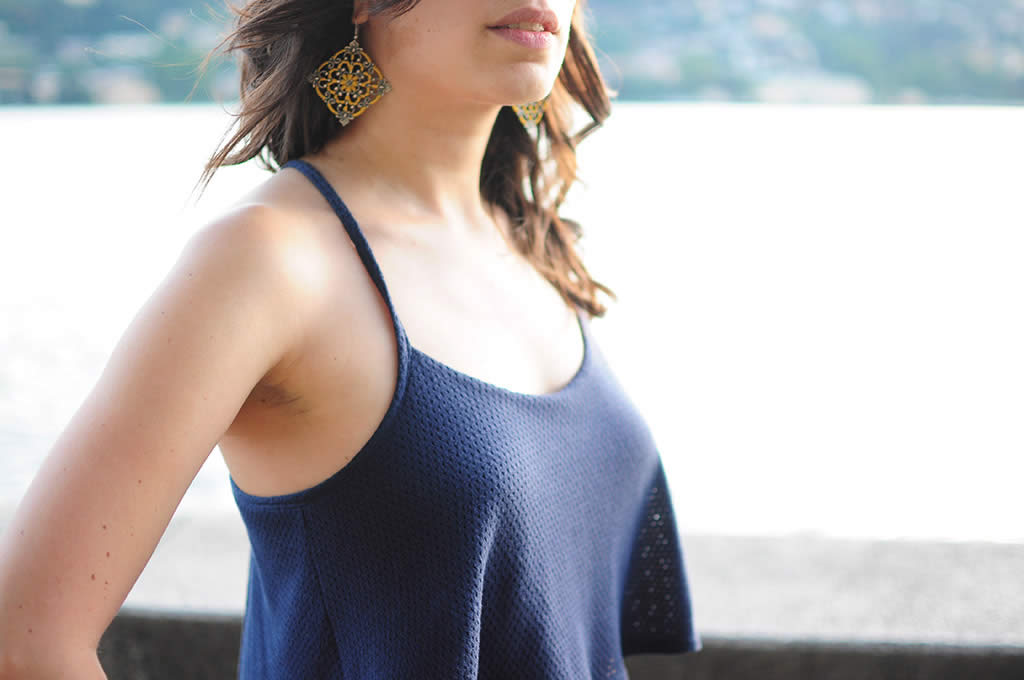
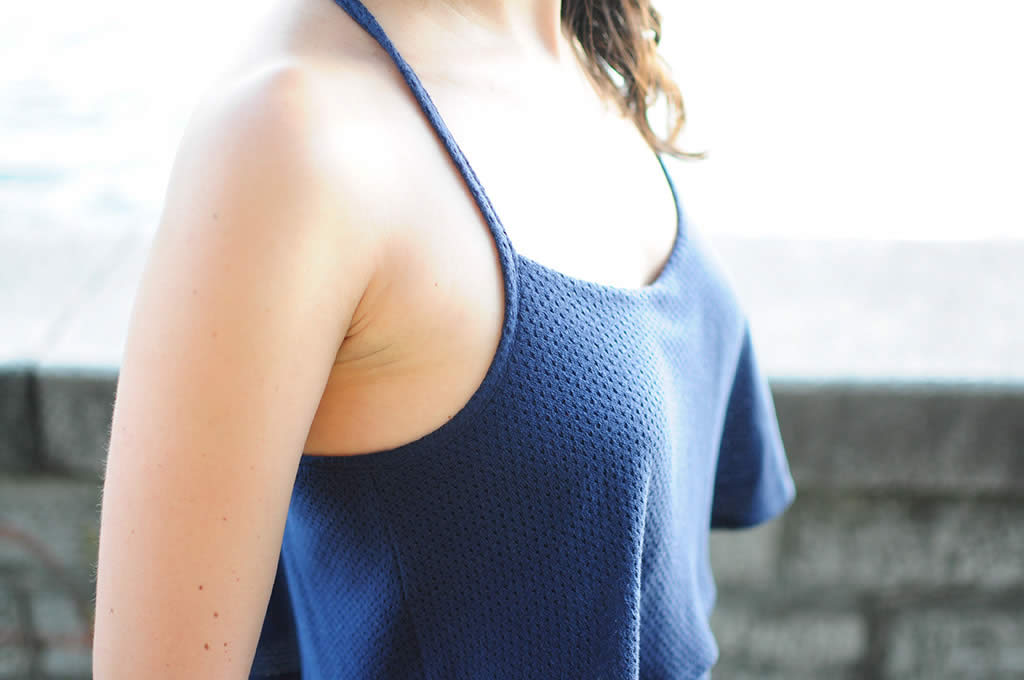
I finished the hem with serger and then I sewed it up with the twin needle on my sewing machine (here you can find which settings I use with twin needle).
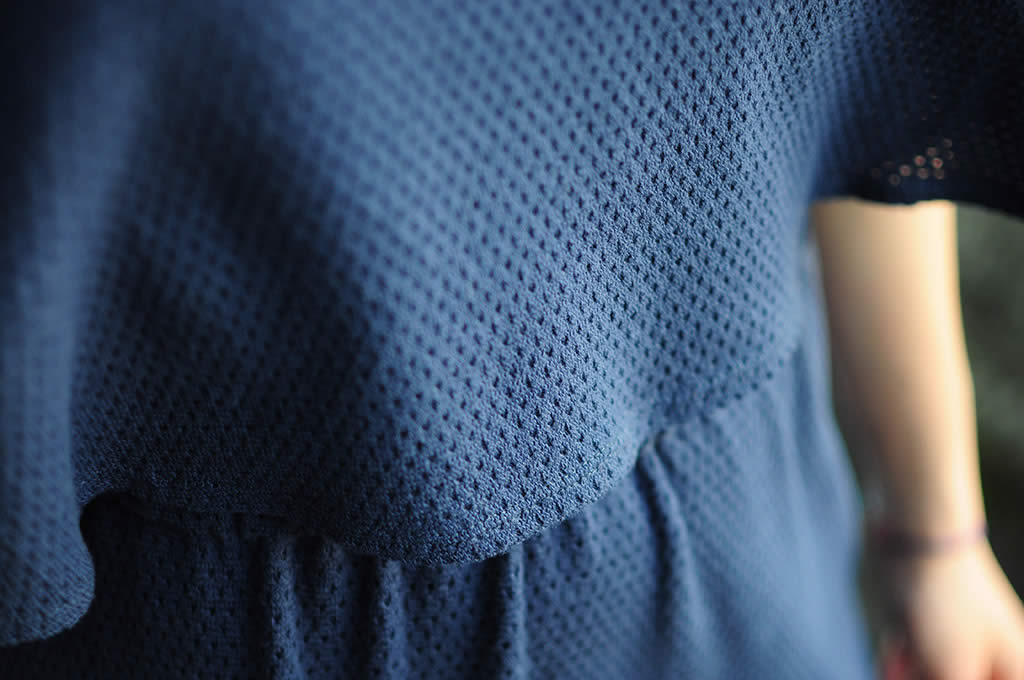
As for the rest I haven’t had problem in sewing it, it has been very fast (about an afternoon and an evening). Instructions are quite simple to follow, however I don’t recommend it to absolute beginners because at least some experience is necessary to follow everything easily.
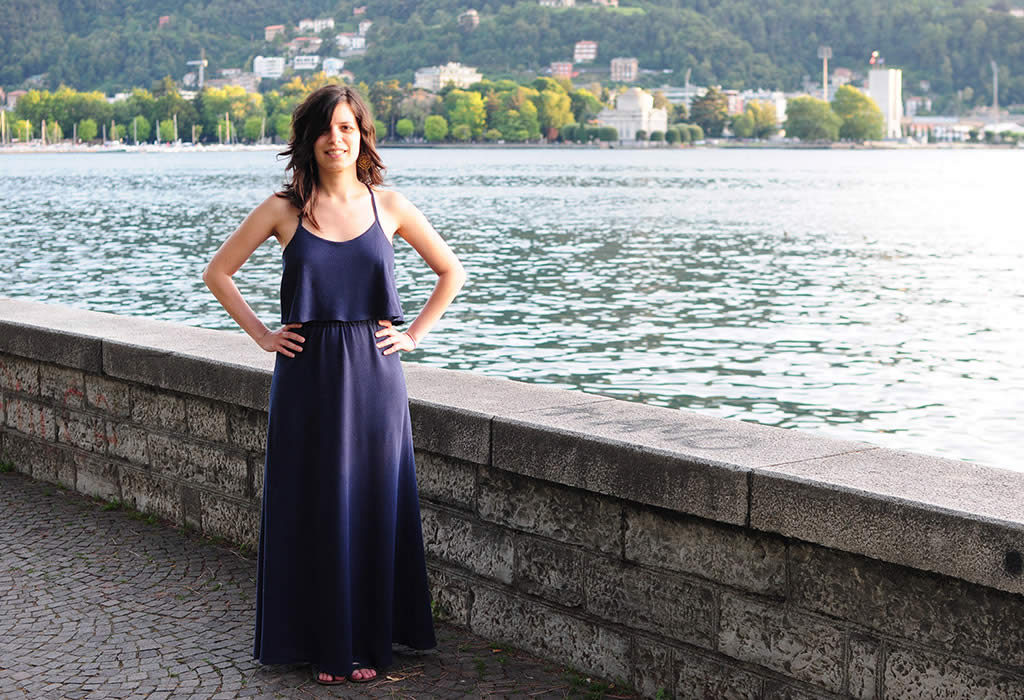
I like the final dress very much and I find this pattern versatile. Once you find the right size and modifications for the right fit, you can make a lot of versions with very little variations , as:
- top with layer (as my test)
- top without layer
- maxi dress without layer
- short dress with and without layer
In the end I’m very happy with my brand new maxi dress, perfect for summer evenings, and I think I’ll use this pattern again to make one or more versions!
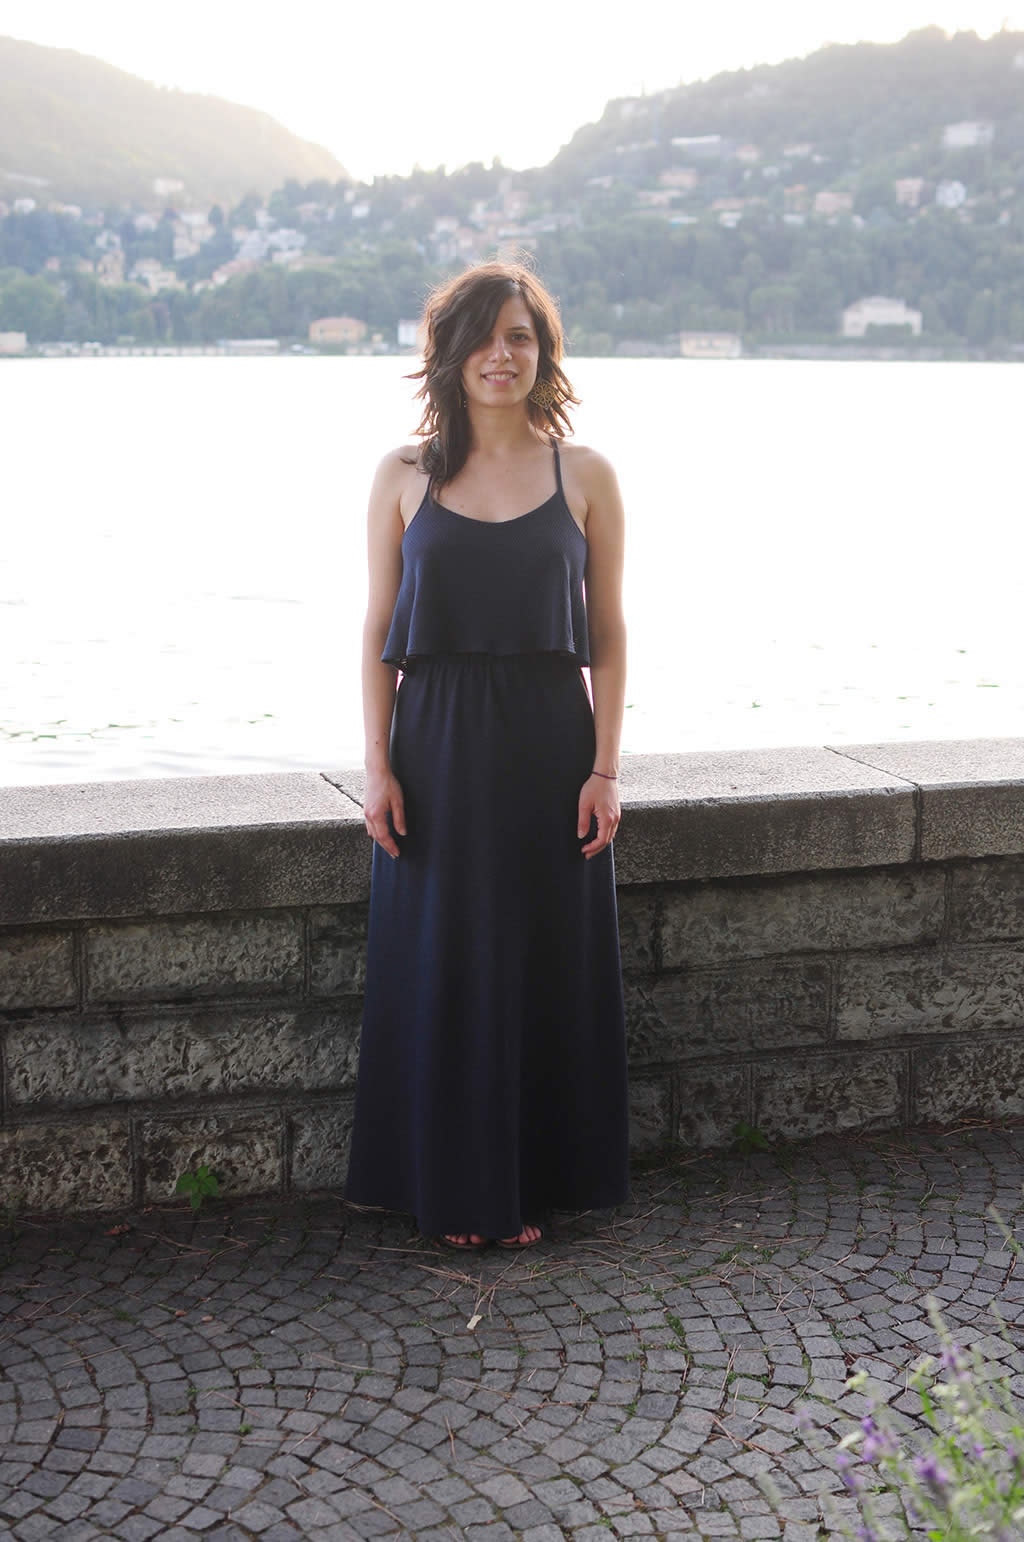
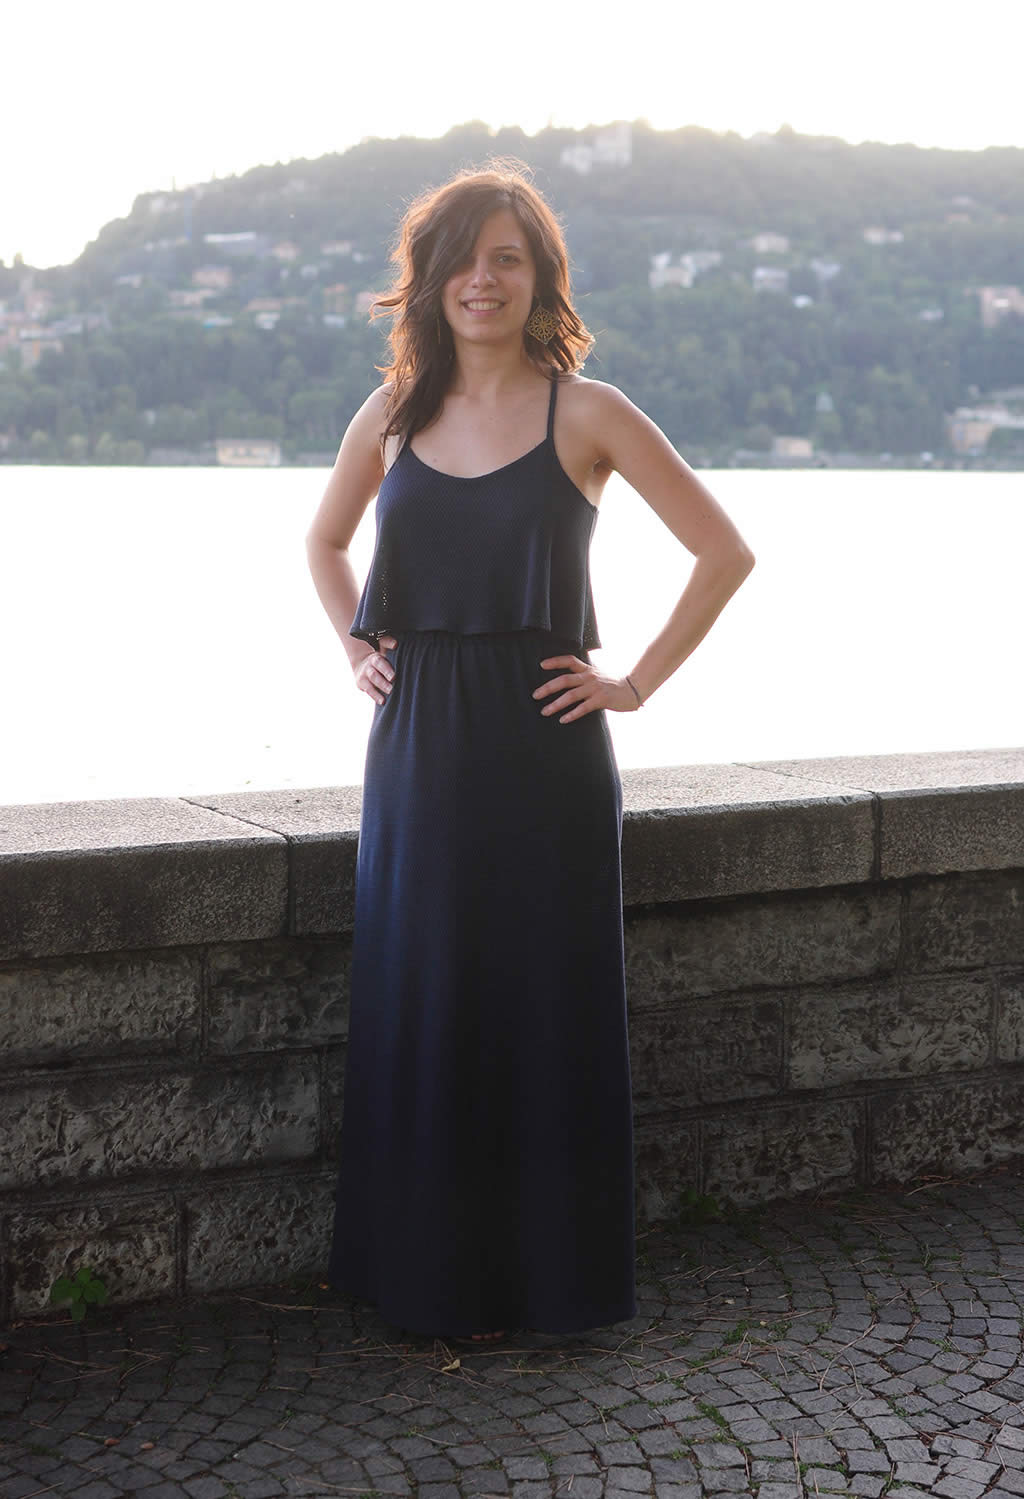
We took these picture at Como lakeside during an evening stroll…


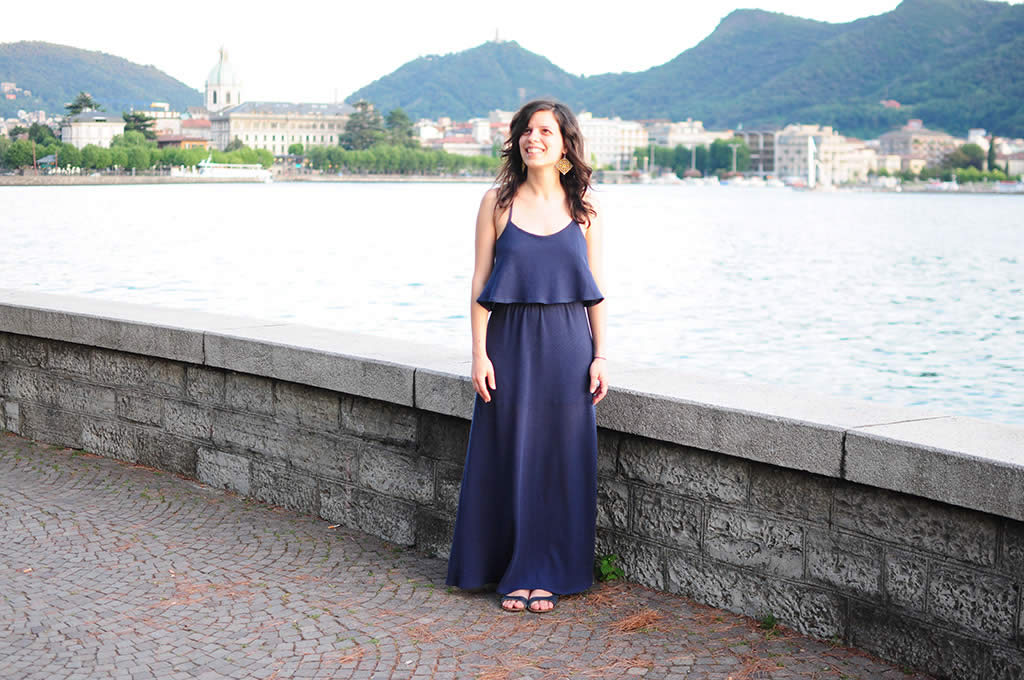

11 comments
Very pretty! Your alterations were definitely worth it.
Thank you so much Sarah!
[…] I have serious maxi-dress envy looking at this Delphi dress from La Dulsatina. […]
This is lovely! You look beautiful! Thanks for sharing all of the details too. I too am not sure about maxi dresses but might have to give them a try.
Thank you Jen! You should definitely give them a try…I was doubtful about maxi dresses in the beginning, but I changed my mind. They fit very very well and are so comfortable.
Very cute! Love that top layer!
Thank you so much!
[…] have been a mini, but a long skirt. I only have mini or above the knee skirts and, as I did with maxidresses this summer, I wanted to give long skirts a try by sewing one of them. After thinking over it a […]
This dress looks wonderfull on you !!! Great job !!!
Thank you so much! 🙂
[…] Martina’s Delphi maxi dress and top […]