Two weeks ago I went to Abilmente in Vicenza (an Italian fair for makers) and Atelier Vicolo n.6 was one of the new entries at the exhibition. Francesca, aka Atelier Vicolo n.6, is a new Italian indie sewing pattern designer and she showed this brand new version of Jolanda top at the fair for the first time.
Francesca, released two fall versions with sleeves of Jolanda summer top: version A with flounce sleeves and version B with bow sleeves. I chose to make this second version.
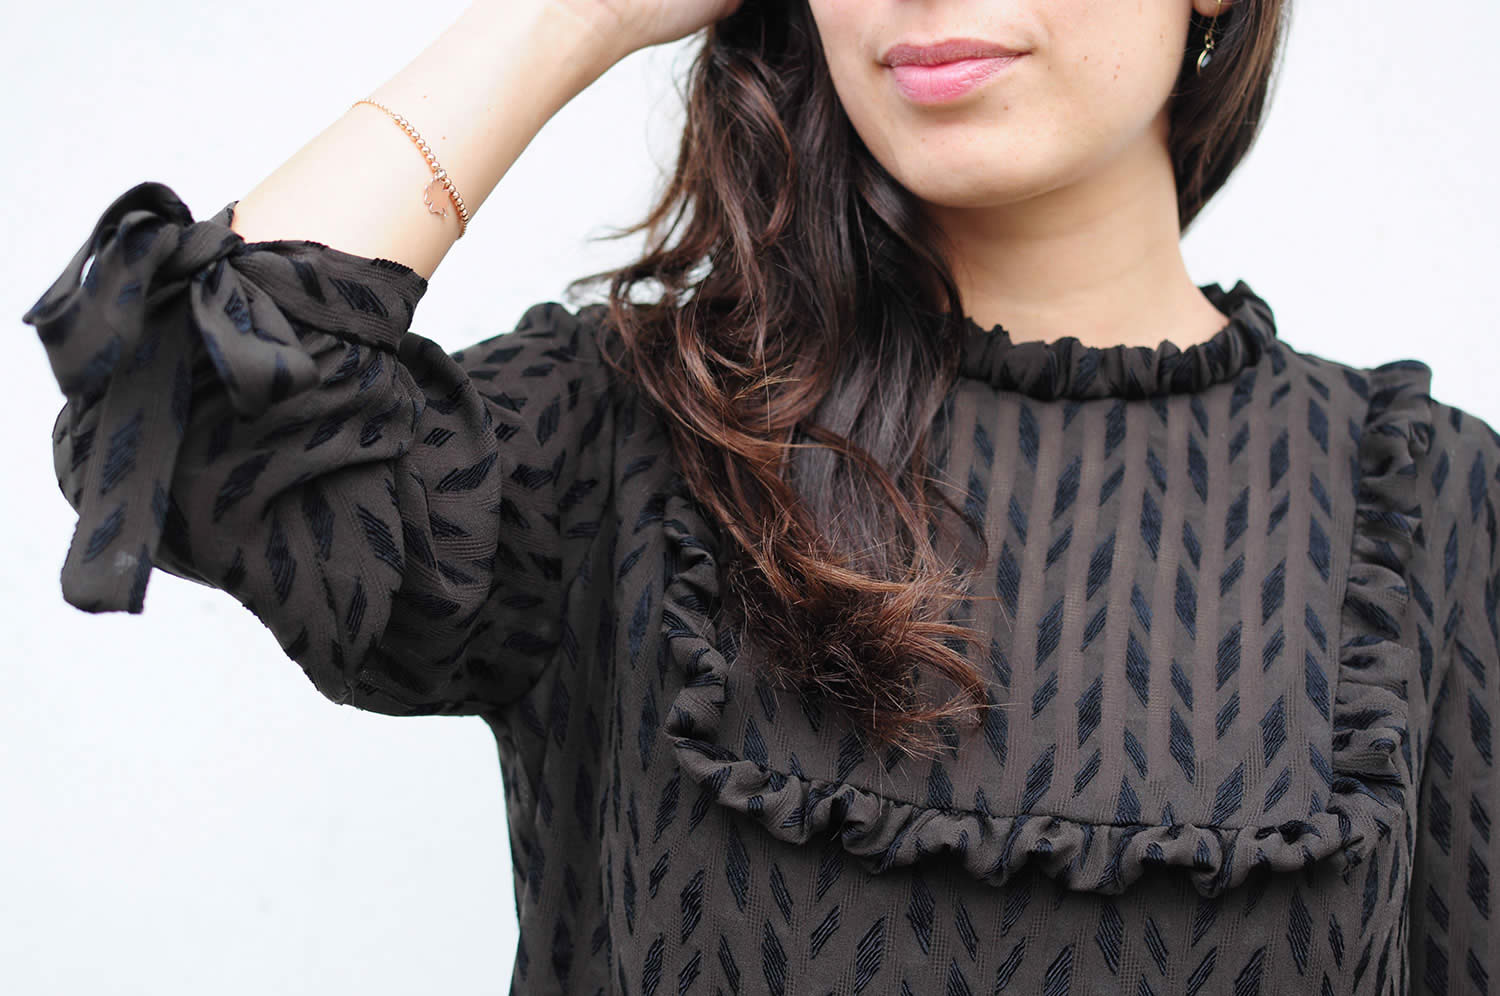
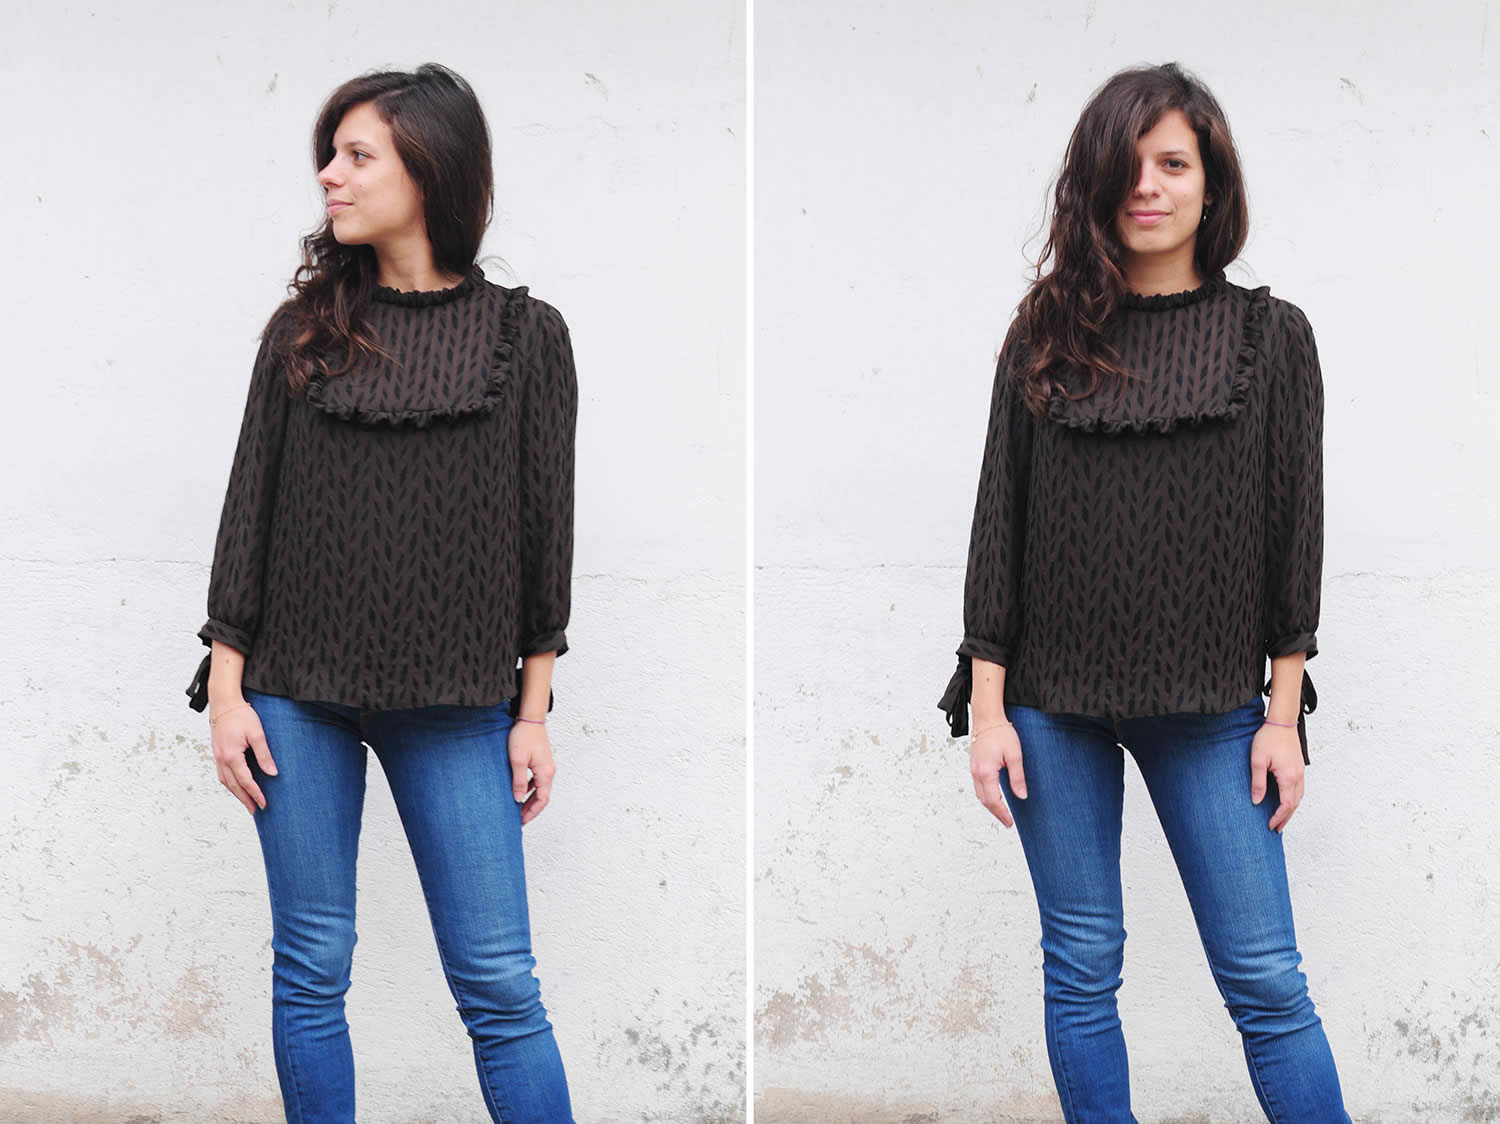 I made it in a beautiful silk and viscose blend, I bought at Etro Outlet in Milan last year. This fabric has been my last buy at this outlet, unfortunately they don’t sell fabrics anymore.
The fabric is semi-transparent and a little bit shot.

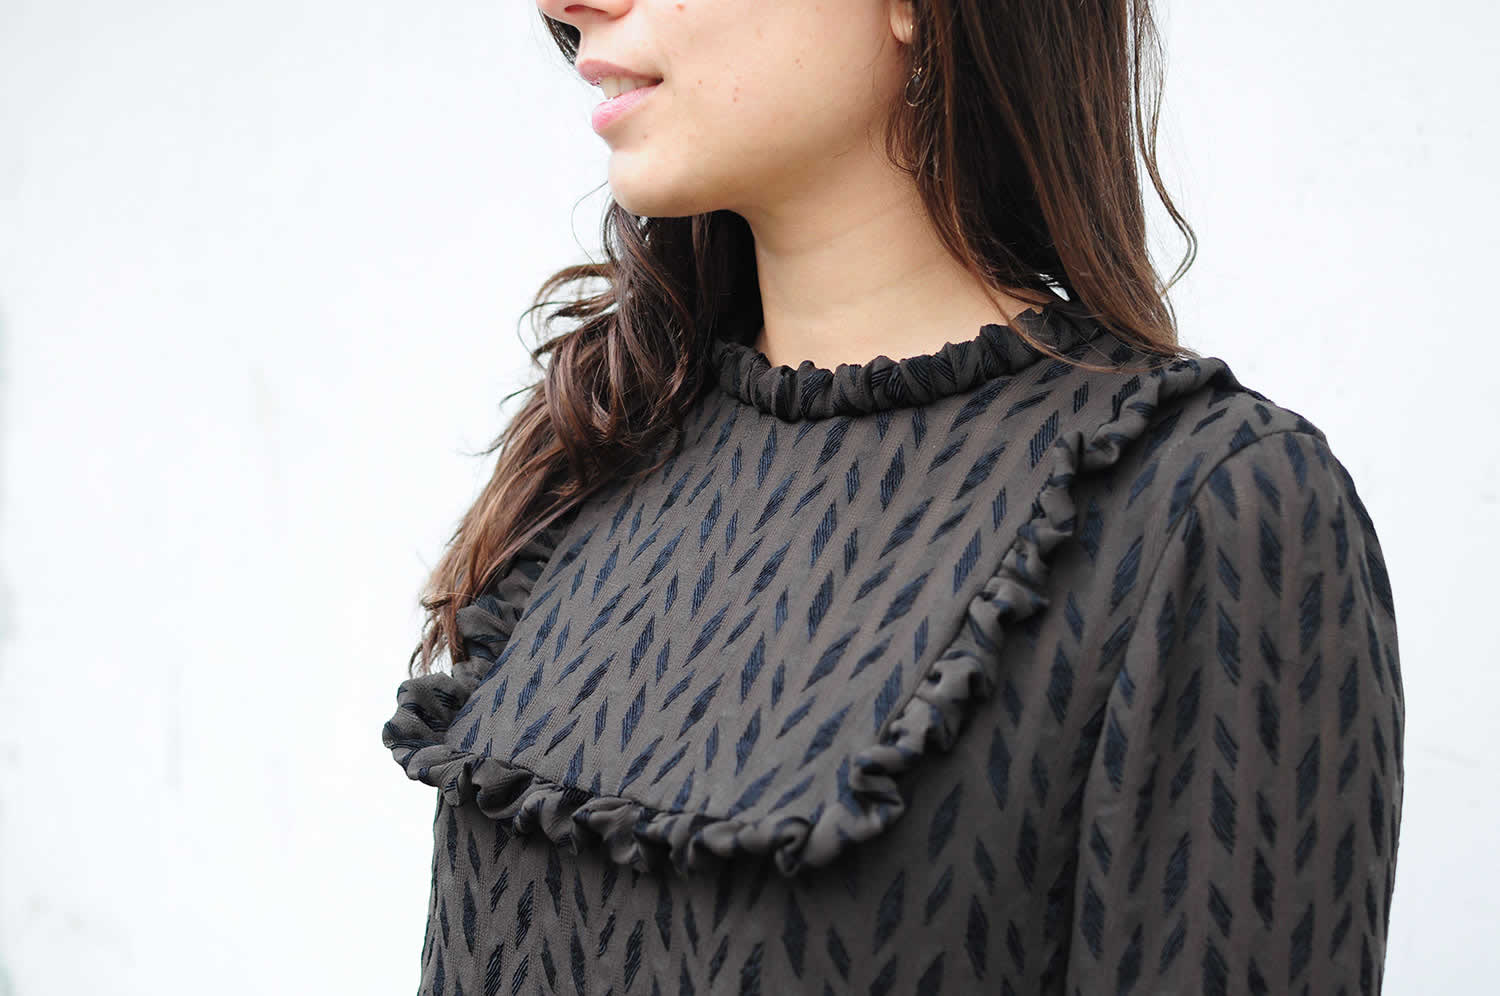
Given that the fabric is quite sheer, I chose to alter the pattern a little bit:
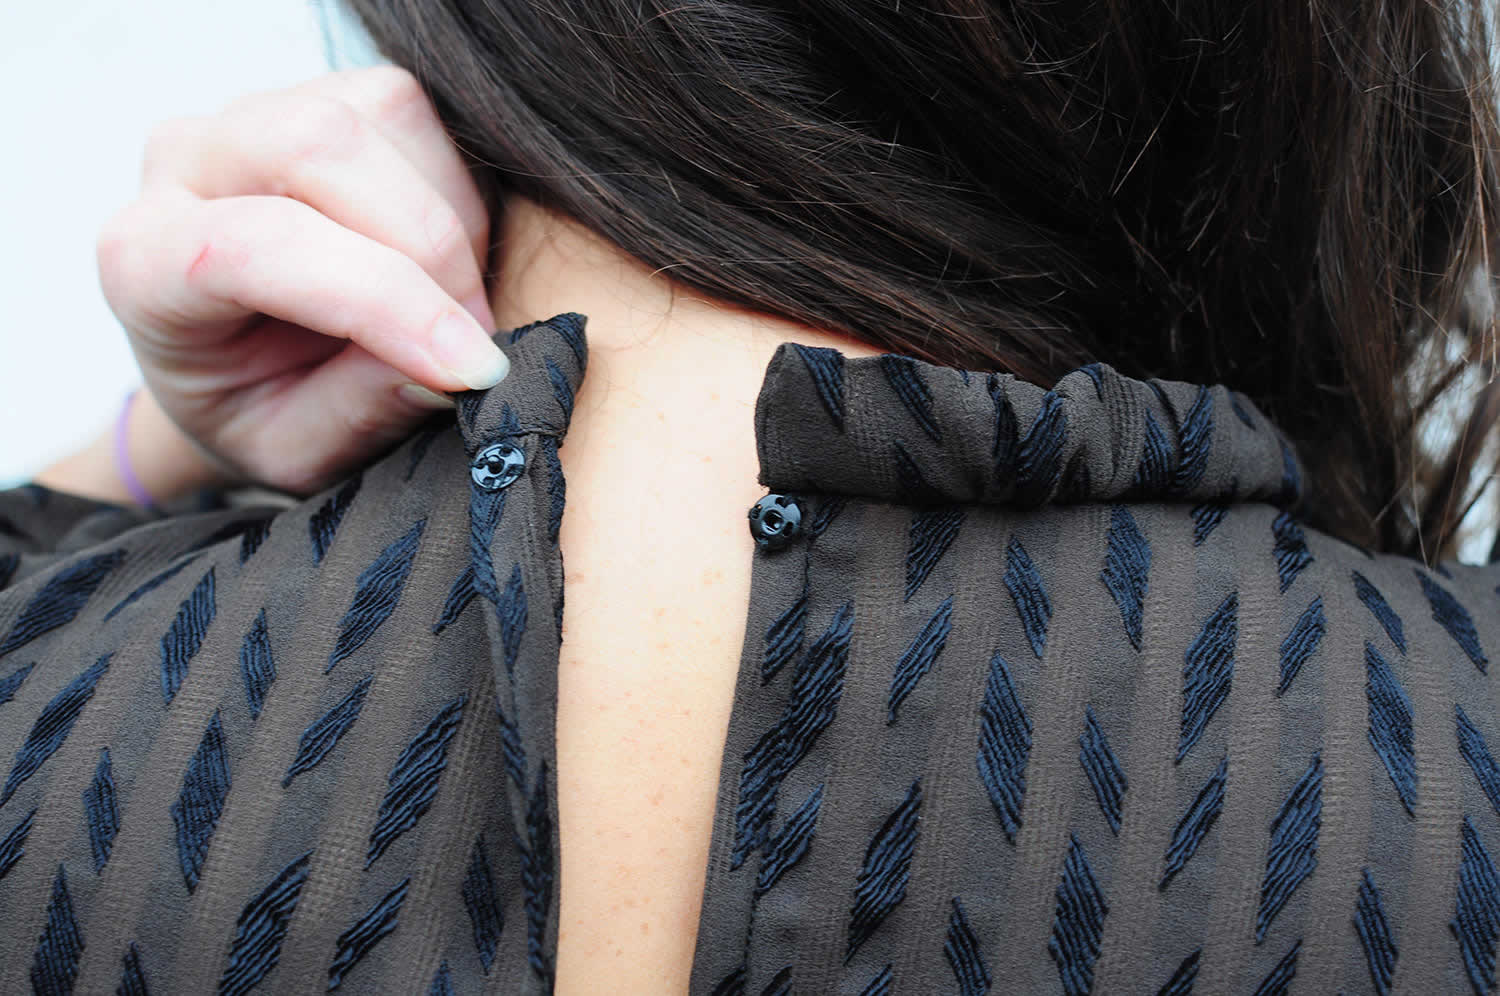
- I made the back in one piece instead of two different pieces, so I cut it on the fold. I sewed the placket on the neckline centre back in the same way I made the sleeve openings (it’s a continuos bound placket…you can find how to sew it in the pattern instructions). Given that this fabric easily frayed, I stay-stitched around the opening marking on the back piece before cutting the neckline opening. Then I cut the opening and sewed the strip of fabric, as showed in the instructions.
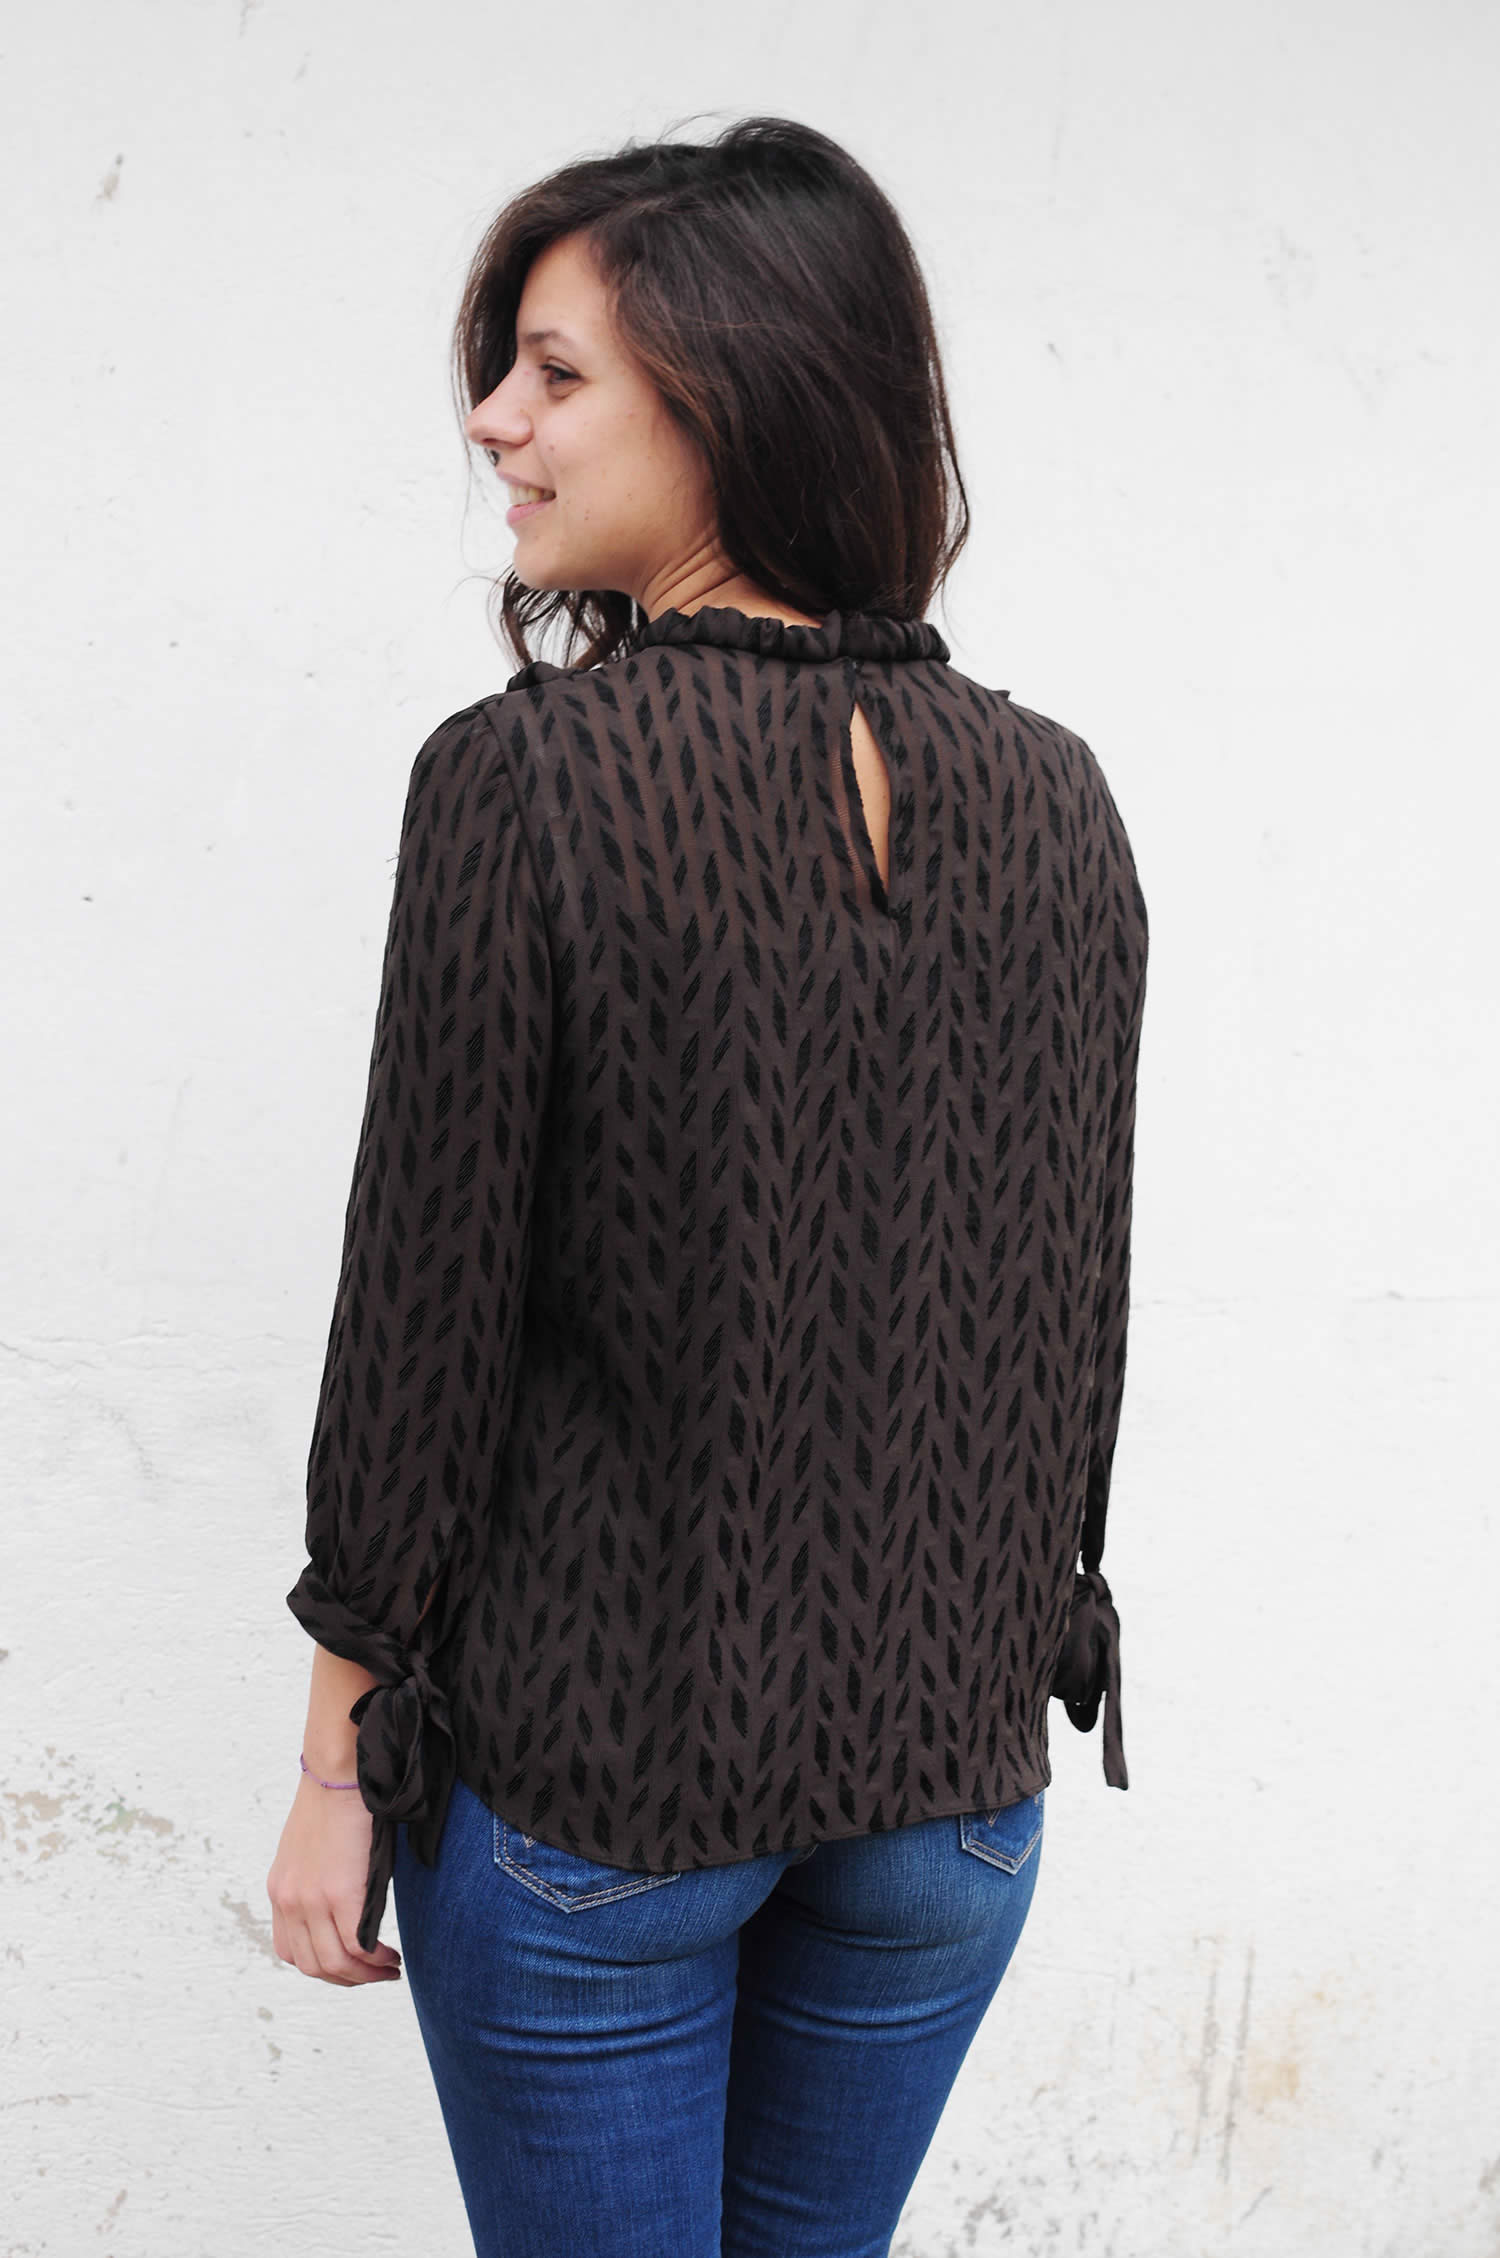
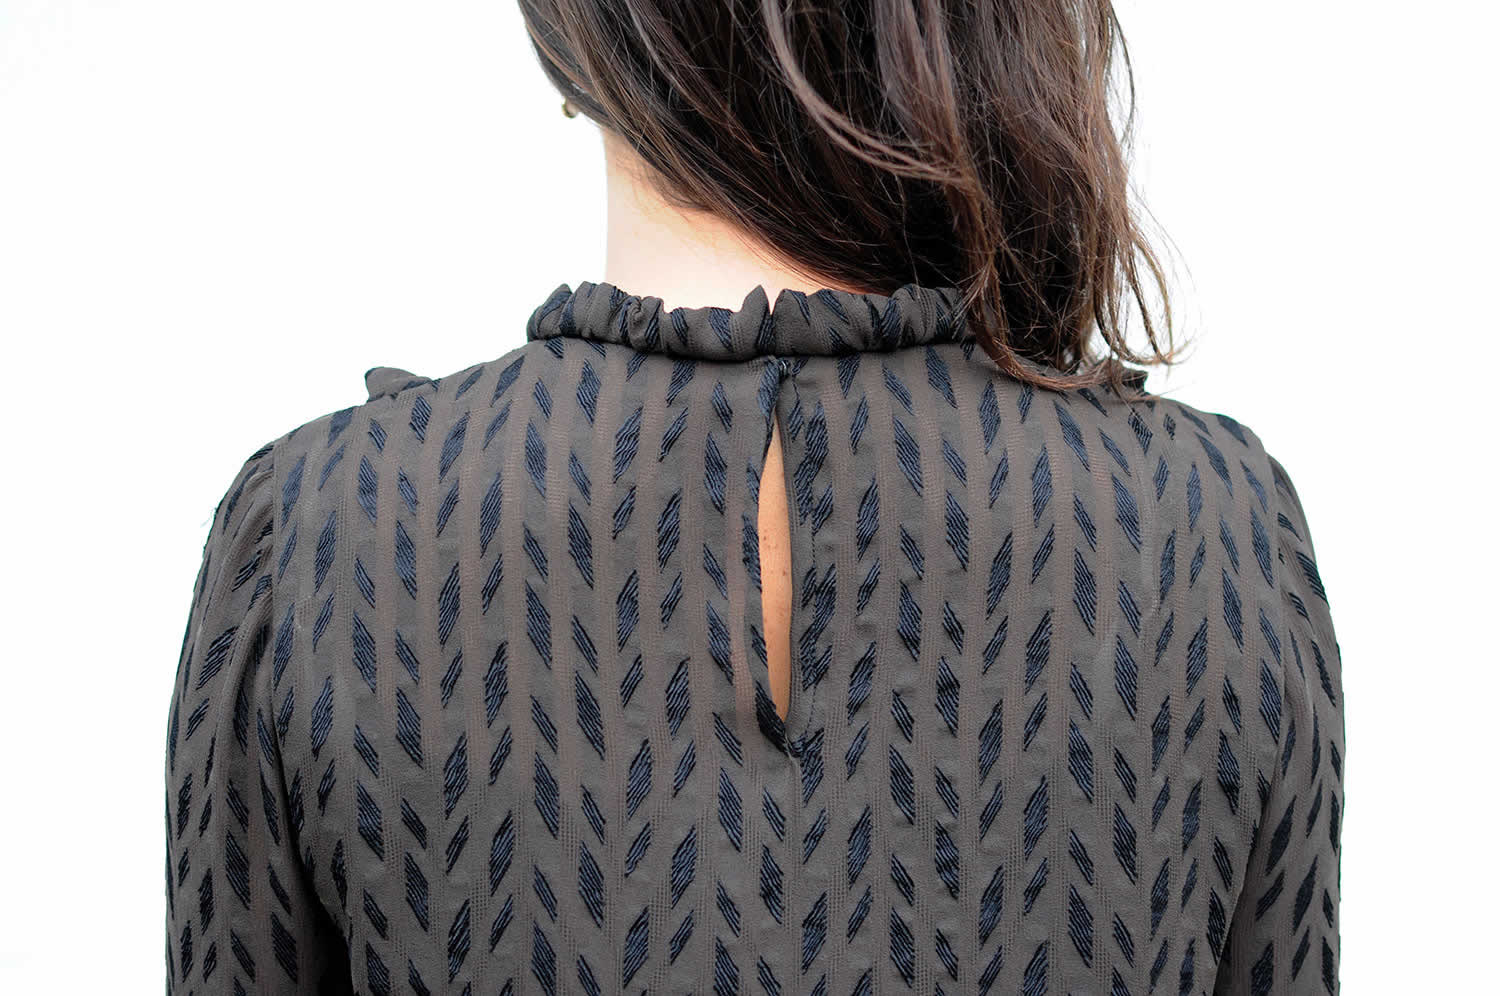
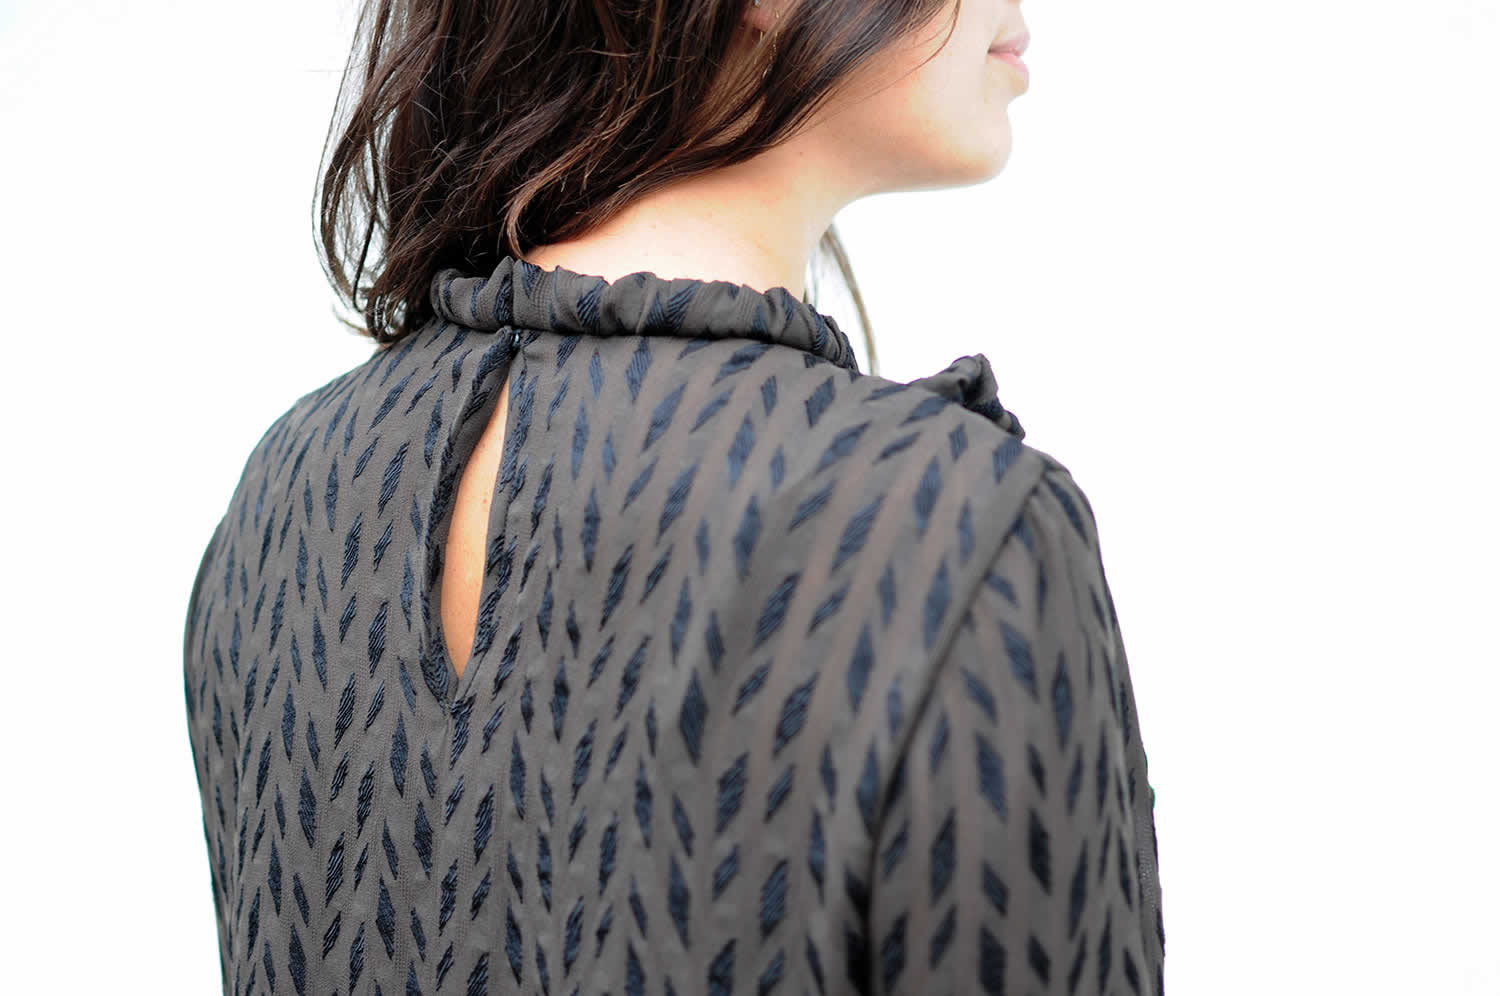
- I didn’t sew the two darts on the back shoulders (the dart was 1 cm wide and I cut out 1 cm from the shoulder/armhole to remove it).
- I removed facings, in order to not have them visible under the main fabric, and so I had to find a different finishing solution for the neckline and the hem.
NECKLINE | I finished the neckline adding a gathered collar band, that matches with the ruffle on the bib. I cut a strip of fabric high as the bib ruffle and two times the length of the neckline circumference. I gathered the two long sides of the strip to match the neckline circumference. I folded along the fold line of the collar, sewed the short sides on the wrong side and turned them right side out. Then I attached the collar: I sewed it to the neckline on the right side first, then I folded the collar and carefully sewed it again from the right side, exactly along the first seam line catching the folded part of the collar on the wrong side.
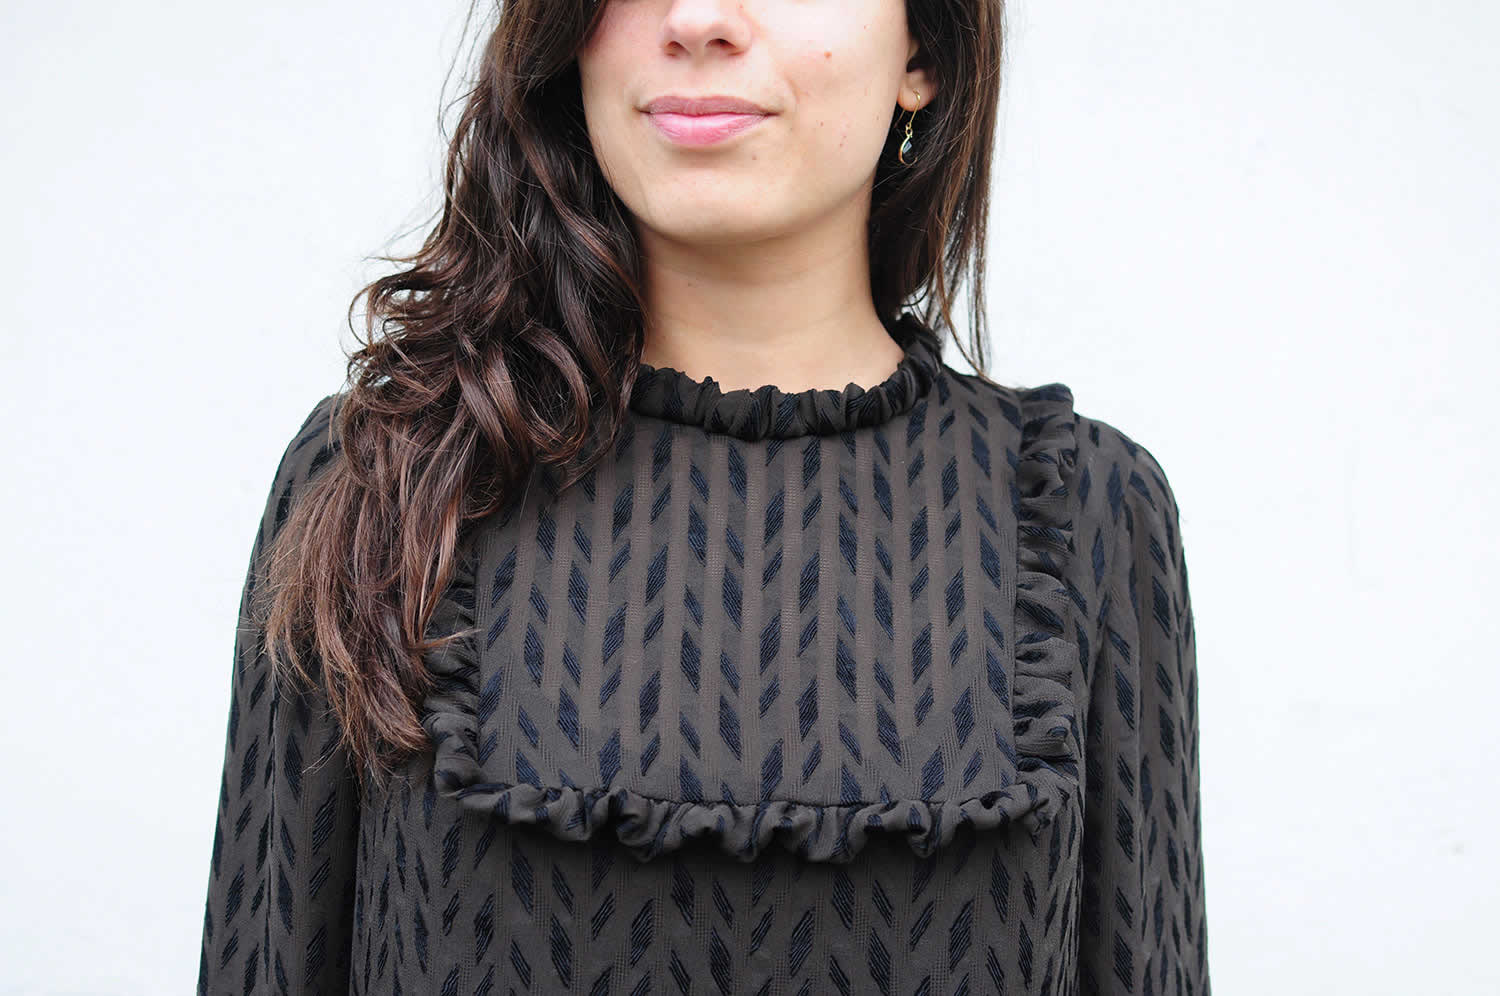
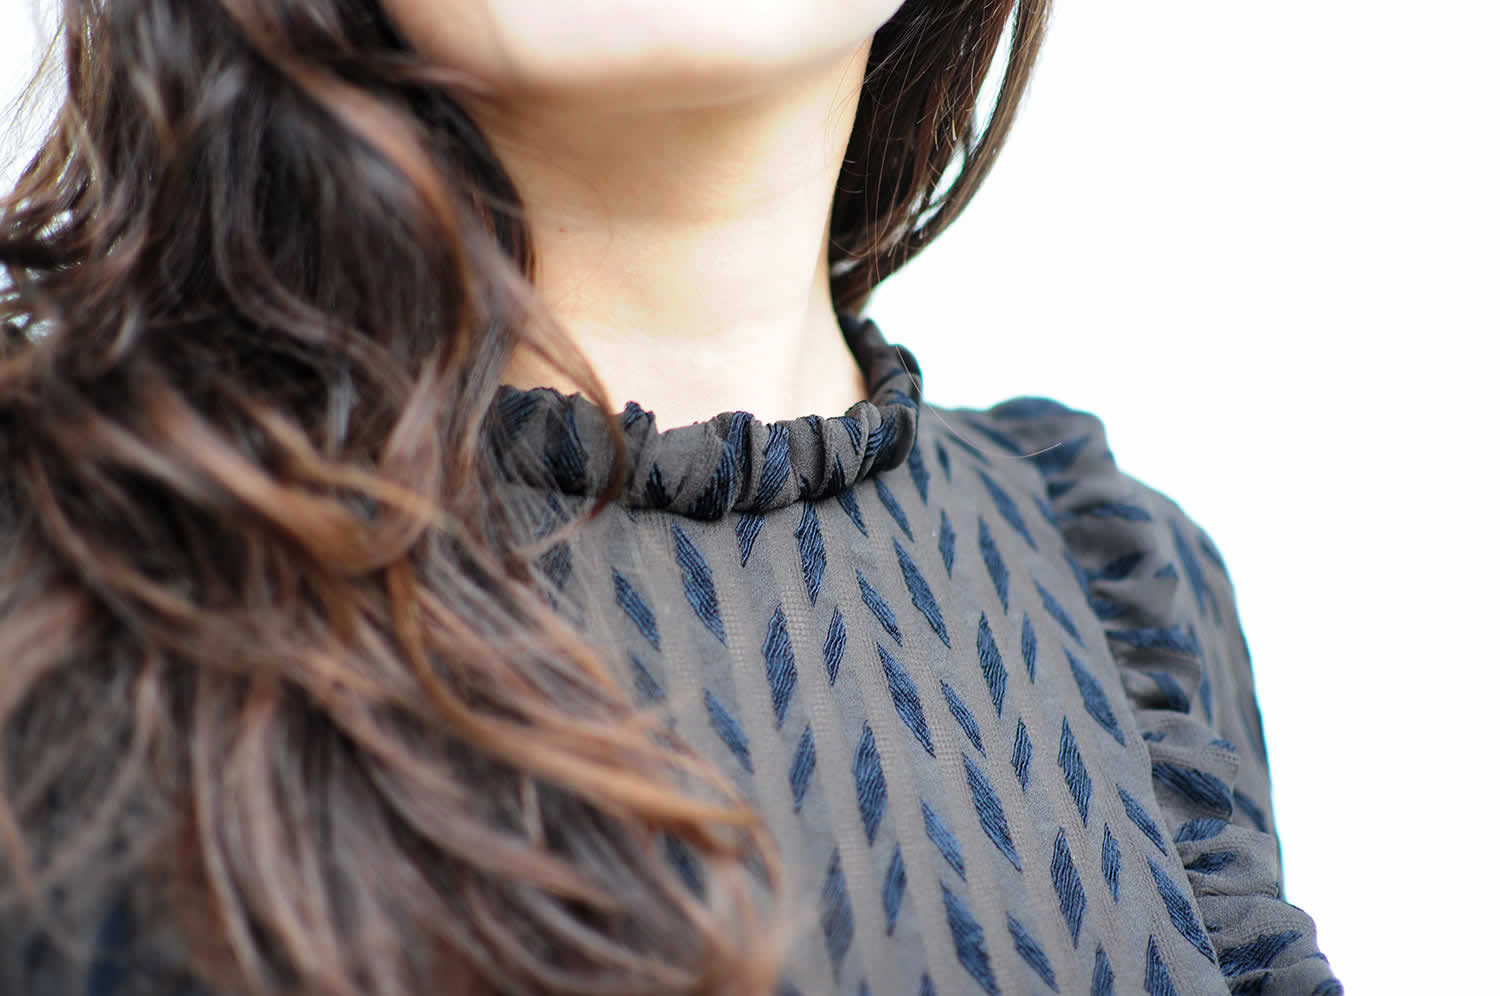
HEM | I retraced the hem of the blouse in order to have a continuos hem. Then I pin-hemmed it (you can find how to sew a pin hem here).
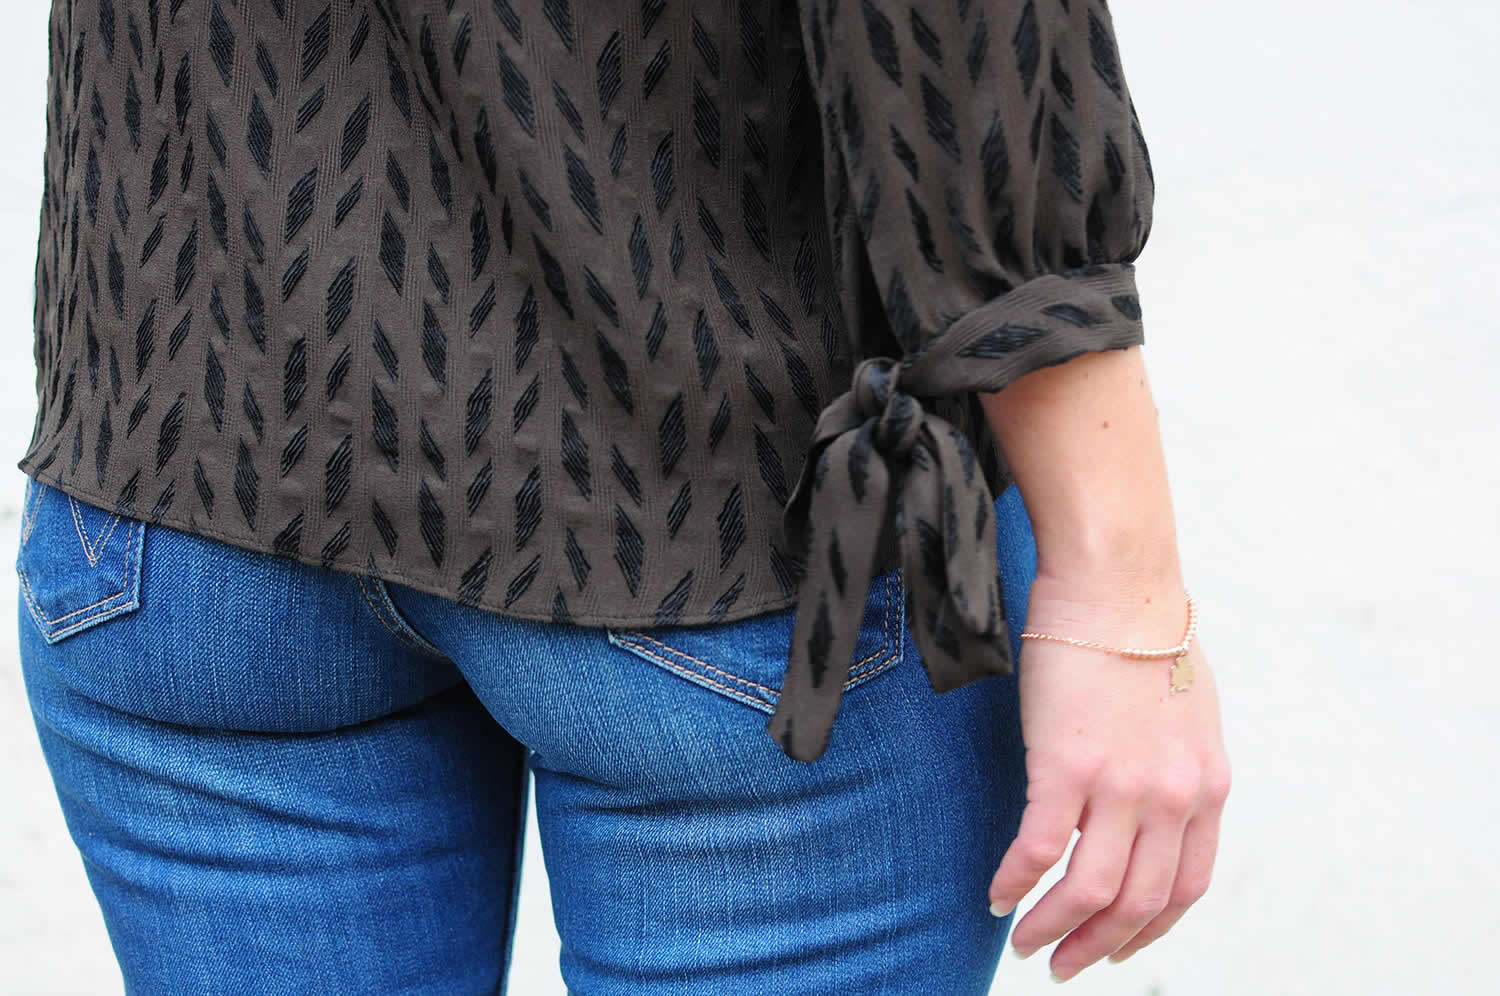
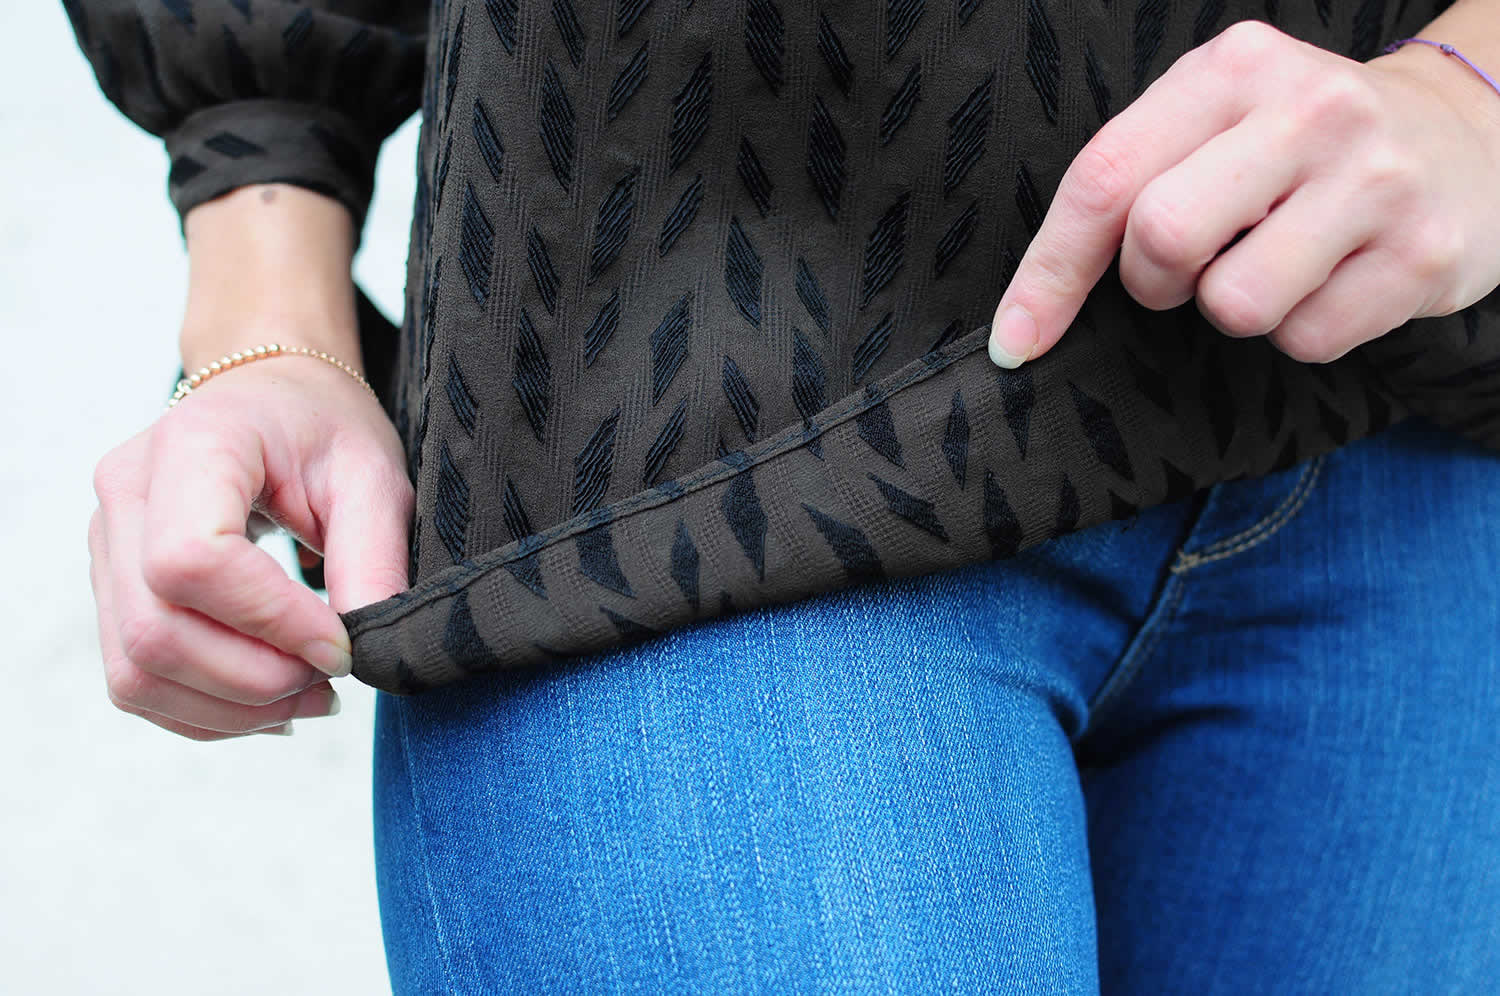
- I added 1 cm seam allowance everywhere instead of 1,5 cm, as suggested in the pattern instructions (Seam allowances are not included in the pattern). I sewed the blouse with French seams (except for the armholes and the bib/ruffle, finished with my serger).
I sewed a press button on the back neckline placket by hand in the end.
Last info…I cut the blouse on the crosswise grain, so the pattern pieces were perpendicular (and not parallel) to the lengthwise grain/selvedges of the fabric. My blouse has vertical, instead of horizontal, lines in this way. A little optical trick to lengthen and make the silhouette slimmer 😉
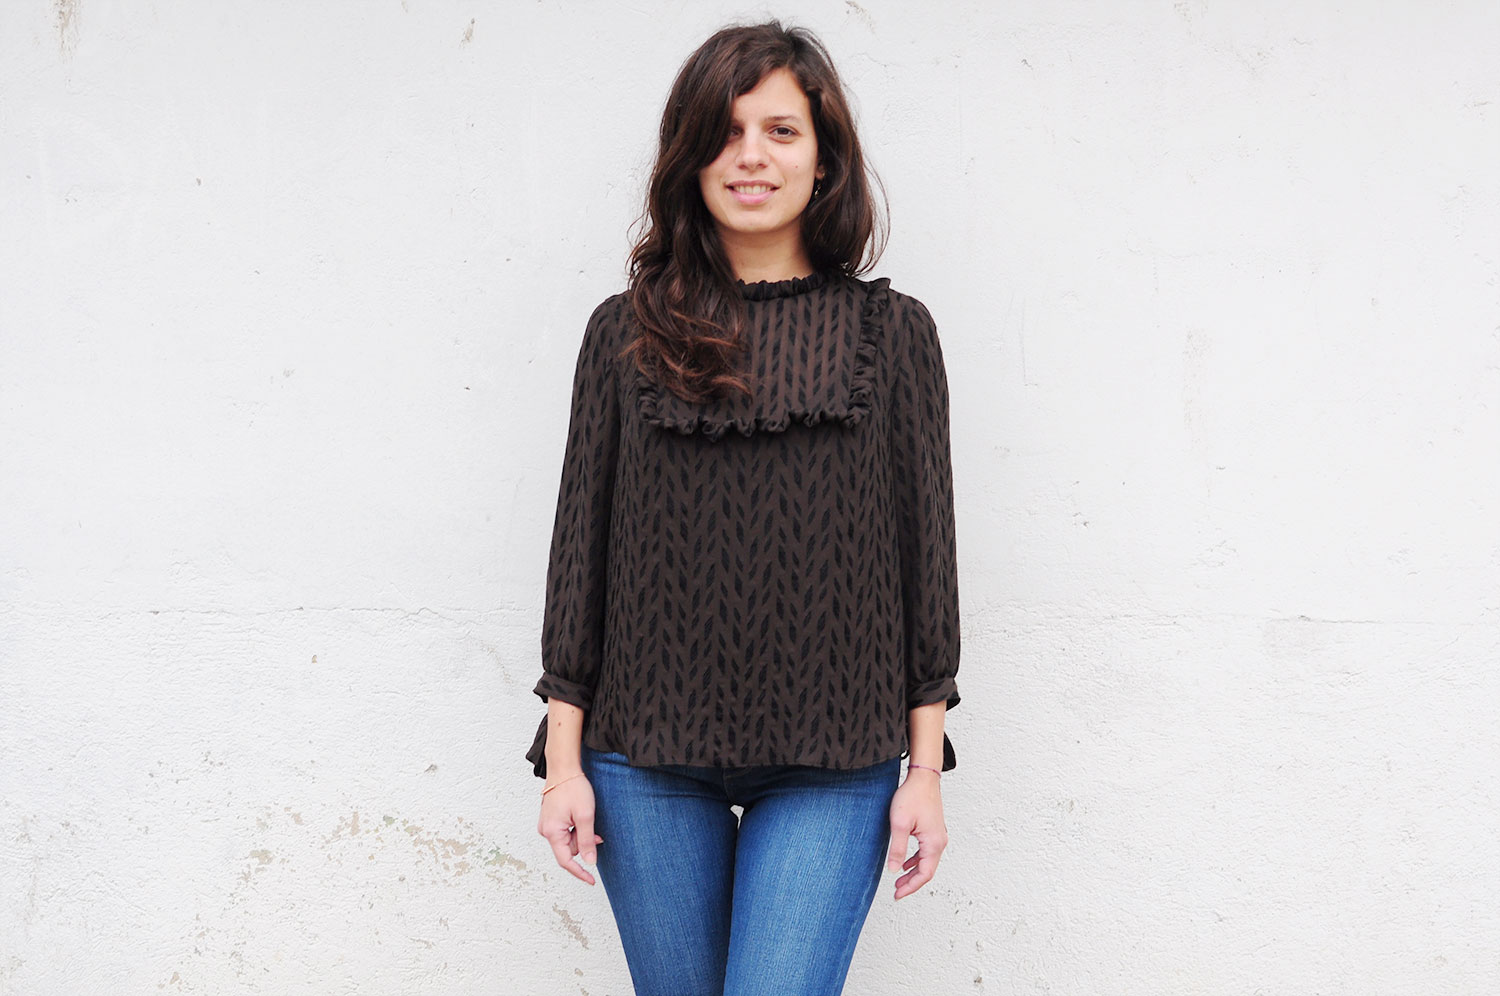 I really like how it came out! It’s perfect with jeans, as in these pictures, or matched with a more elegant skirt/pair of trousers.
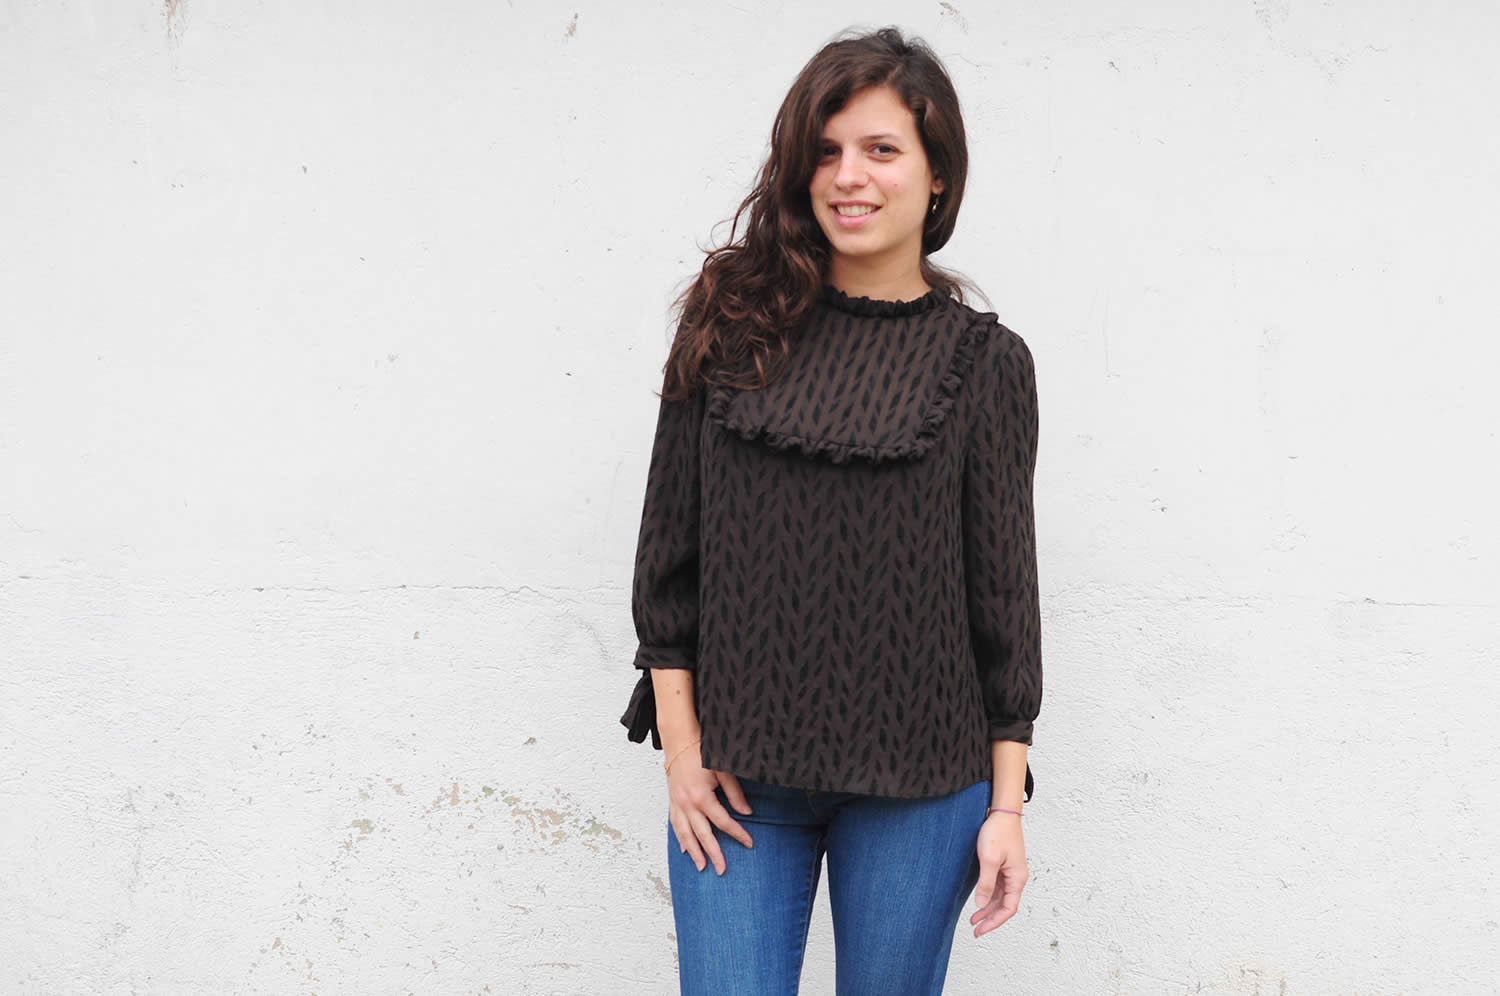
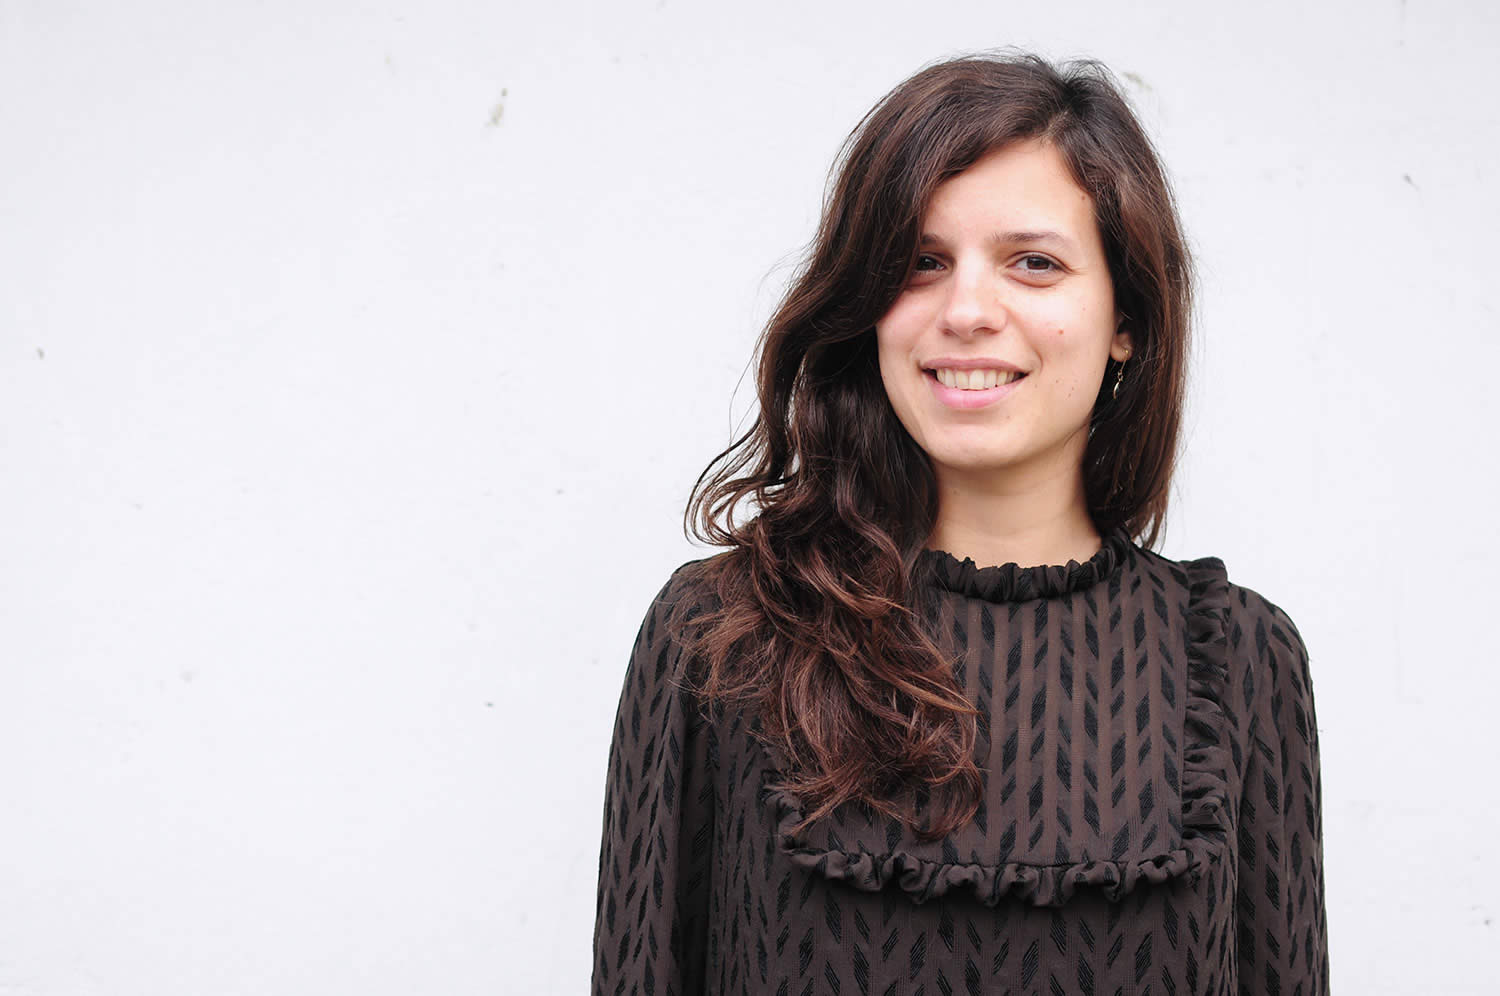
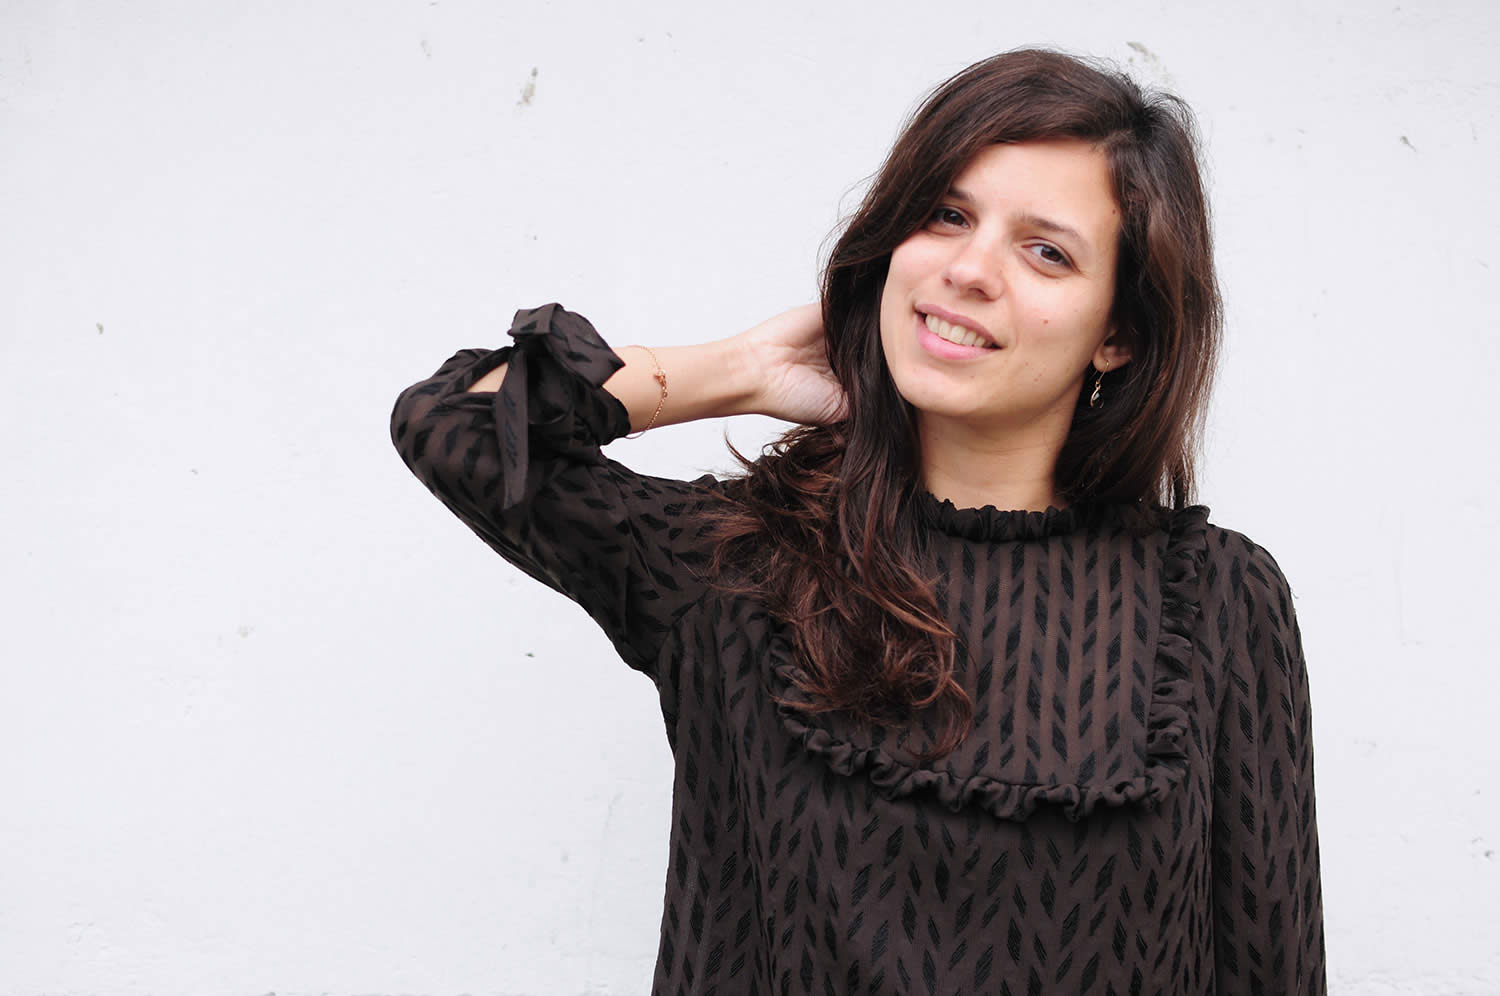
I bought the paper pattern at the fair, but you can find this pattern on Atelier Vicolo N. 6 website or the sewing kit (pattern, fabric and thread) on Supercut website.


4 comments
that is so pretty! ruffles are becoming really popular again and I like this because it is just a little bit of ruffle.
Thank you Beth!! <3 I don't like big ruffles very much and I'm with you...just a little bit of ruffle is the perfect adornment! 🙂
Beautiful!
Great posts.You are looking beautiful.
Thanks for Sharing with us….