Spring is coming and so this will be my last winter sewing project for sure. I can’t wait to sew cotton and light-weight fabrics.
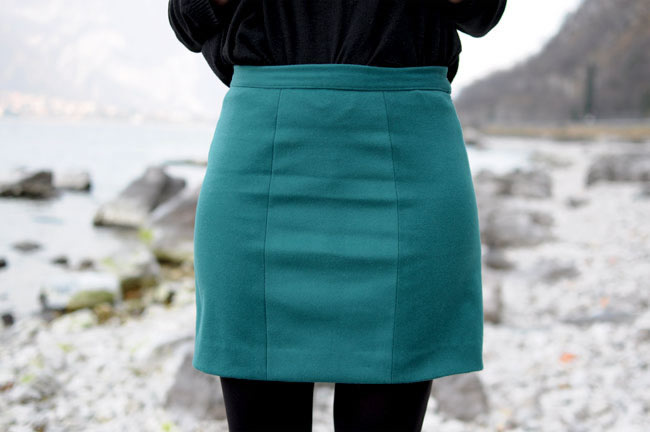
Anyway, this panelled mini skirt come out of my will to try a new silhouette I put together for the Wardorobe Architect 2015 Challenge, this one you can find here, and of my desire to make something simple, but at the same time precious.
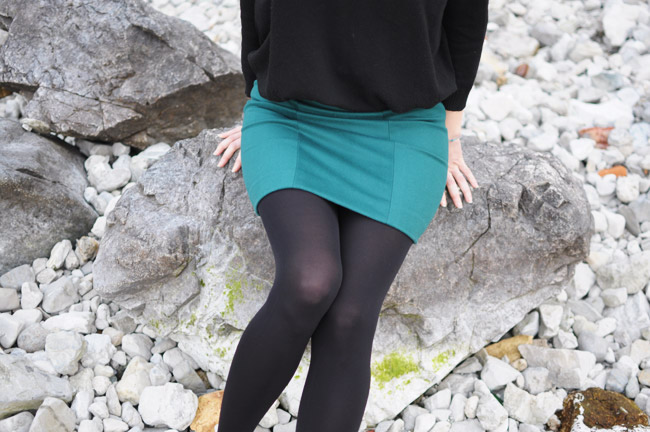
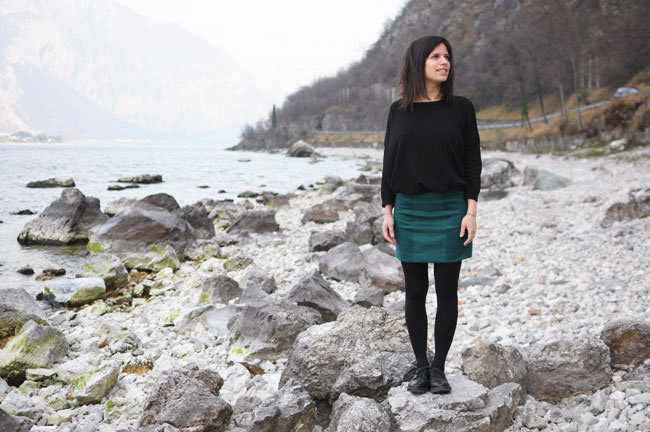
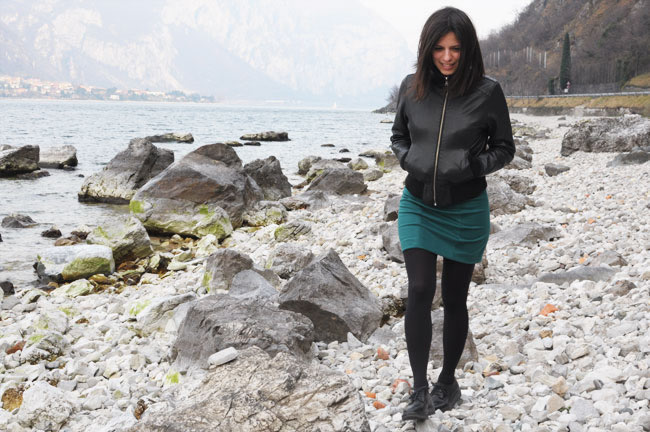
I wore it for the first time in a Sunday walk around Lake Como two weekend ago. The shores were deserted, perfect for gazing at the lake and for taking some pics.
I designed the pattern by myself. The panelled skirt is very simple to design: you only have to take the waist and hip circumferences and divide them into the number of panels you want to make, in this case six. To be sure I also took other measurements, for example a circumference between the hip and the hem and the circumference I want for the hem. You also have to take the distance of every circumferences from the waist (for instance, before to measure the hips circumference, take the distance between your waist and hip. Do the same for all the circumferences you take. A string on the waist could help you as point of reference for heights).
On a piece of tissue-paper draw a central line (that will be your grainline). This will be your reference for drawing the heights and the circumferences (divided into six) you have taken before. Then join the points with a ruler or a French curve rulers.
You have to copy this pattern other two times (if you have to cut six panels, you need 3 pieces of the same pattern to cut the fabric).
You can use the patterns also for the facing (or for the lining) or you can make a waistband, as I did.
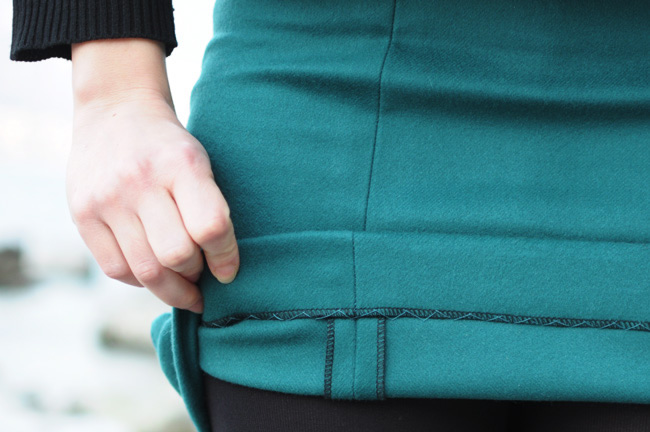
To be sure, when I cut the fabric I added 2 cm seam allowance (instead of the traditional 1,5 cm) to the sides and 5 cm to the hem of every panel (so if I change my mind about the mini length, I will have enough seam allowance).
I wanted to sew the skirt with a lining (I’d already made it). However, when I wore it I noticed that the skirt was stiffer with the lining. I liked the soft effect of the wool cloth without the lining much more. So I retraced my steps and I unstitched it.
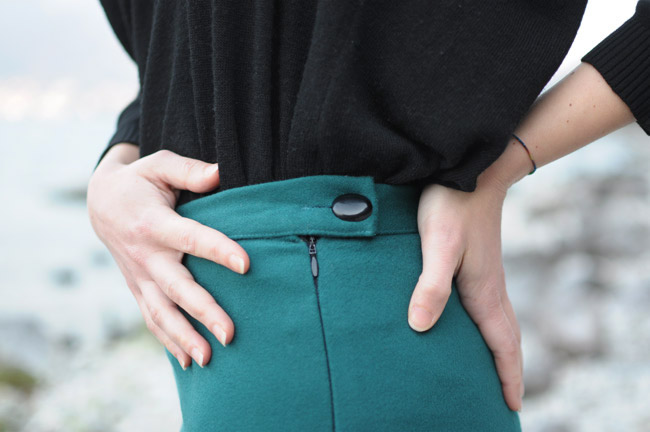
By the way, the fabric is a scrap of the beautiful wool, petrol green, from the Luigi Colombo wool mill bought on Supercut.it I used for my vintage skirt. I’m really happy to have used it again…I love the softness of this cloth!
I sewed all the panels up, finished everything off with my serger, sewed an invisible zipper and a waistband, hemmed up and made the buttonhole by hand (I’m not a masochist, the waistband was too thick for my sewing machine and so I had to sew the buttonhole by hand…sigh!). The button came from my grandmother Martina’s vintage tin box.
I really like this panelled mini skirt…what do you think about it? Sometimes the simple things are the best things! I think I’ll wear it a lot in the next winter.
And now it’s time for spring sewing project finally! 🙂



8 comments
Really nice Martina … I love the play of colors, it gives a slimming effect . Great finishings ! Did you interface the waistband?
Thank you Sasha! Yes, I applied the interfacing on the inner side of the waistband.
Very nice. I think it turned out perfect. You are really good at designing your own patterns. Do you have a book you could recommend? I would love to learn more about designing my own patterns.
Thank you, Samantha! I studied how to design this skirt over the evening dressmaking classes I attended last fall.
I have at home this interesting book (italian and english edition): http://www.amazon.it/modellismo-sartoriale-industriale-bambino-italiana/dp/8890010150/ref=sr_1_7?ie=UTF8&qid=1426854610&sr=8-7&keywords=il+modellismo.
I also read this interesting review of Nicoletta – DiNuvoleDiCuori http://dinuvoledicuori.altervista.org/index.php?option=com_k2&view=item&id=125:fr-patternmaking-by-dennic-chunman&lang=en about this book http://www.amazon.com/Pattern-Making-Portfolio-Skills-Chunman/dp/1856697509/ref=sr_1_1?ie=UTF8&qid=1426854867&sr=8-1&keywords=Dennic+Chunman.
The Pattern Making Book seems very interesting, have a look at the Amazon link. I think it will be my next purchase! 😉
Tina, are my eyes playing tricks on me, or is the center front panel cut differently than other panels? I mean, in the first two photos it seems to be reflecting light in a different way, sort of like a lighter colour is visible. I love that effect and was wondering if maybe you made something special to achieve it? Like, I don’t know… putting the panel upside-down? I figure, the wool has that tiny little hair to it, so if you flip the fabric to the side or upside down, the hair will fall in a different direction than when cut straigh on grain. And then, when put together with panels cut on grain, it could look different in comparison. Sorry if this is a silly question :).
The skirt is great of course! 😀
This is not a silly question! 🙂 Actually, I don’t know why the center front panel looks different from the others, because it is cut in the same way. Probably it’s an optical effect. It could be interesting playing with the panel next time…
Again I love this. My mother used to make me skirts like this, I think it’s about time I did them myself.. (ps, I have made a couple of items now but no dress just yet, am close though)
Just a suggestion, if you find the fabric too thick for buttonholes next time, this is what I used to have on my skirts, I think they are called skirt hooks and bars, like a hook and eye but more secure.
See this link for an example.
http://www.amazon.co.uk/Prym-Trouser-Skirt-Hooks-silver/dp/B0052DHL2U/ref=sr_1_2?s=kitchen&ie=UTF8&qid=1431345766&sr=1-2&keywords=skirt+hooks+and+bars
Thank you Ju! 🙂 I used a hook and eye for my shorts but I’ve never used the model you’ve sent me. Next time I’ll try it 😉